Table of Contents
Table of Contents
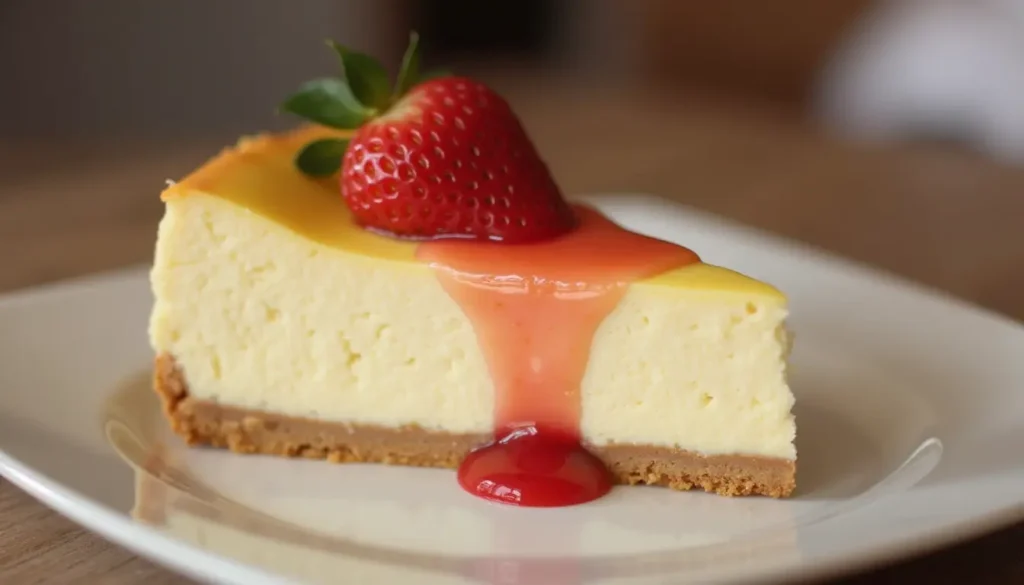
Strawberry Cheesecake Recipe:
Okay friends, can we talk about the eternal struggle? You know the one – you’re planning a party and you can’t decide between making a fluffy cake or a rich, creamy cheesecake. Well, guess what? I’m about to blow your mind because this strawberry cheesecake recipe literally gives you BOTH in one gorgeous dessert. We’re talking moist vanilla cake on the bottom, silky cheesecake in the middle, and fresh strawberries on top. It’s basically dessert heaven!
So here’s the story – three years ago my daughter was having the world’s biggest meltdown because she couldn’t pick between cheesecake and regular cake for her birthday (kids, am I right?). After way too many kitchen experiments (and probably gaining 10 pounds in the process), I finally cracked the code with this easy strawberry cheesecake recipe. Now it’s literally the only dessert anyone in my family wants for special occasions. The secret? It’s all about getting that perfect balance where the strawberry flavor makes everything taste amazing without overpowering anything.
Why This Recipe Will Become Your New Obsession
Listen, I’ve tried A LOT of dessert recipes, and this fresh strawberry cheesecake cake recipe is hands-down the winner. Here’s why you’re gonna love it:
It’s Like the Holy Trinity of Textures: You’ve got this tender, fluffy vanilla cake on the bottom that’s sturdy enough to hold everything up but not dense at all. Then there’s this incredible silky cheesecake layer that’s perfectly tangy and smooth. And the fresh strawberries on top? Pure magic – they add this amazing pop of sweetness and that perfect bite.
No More Cheesecake Drama: Guys, I used to be SO scared of making cheesecake because of all that water bath nonsense and worrying about cracks. But this recipe? It’s like cheesecake for dummies (in the best way!). The cake layer actually protects the cheesecake from getting too hot too fast, so no more ugly cracks ruining your masterpiece.
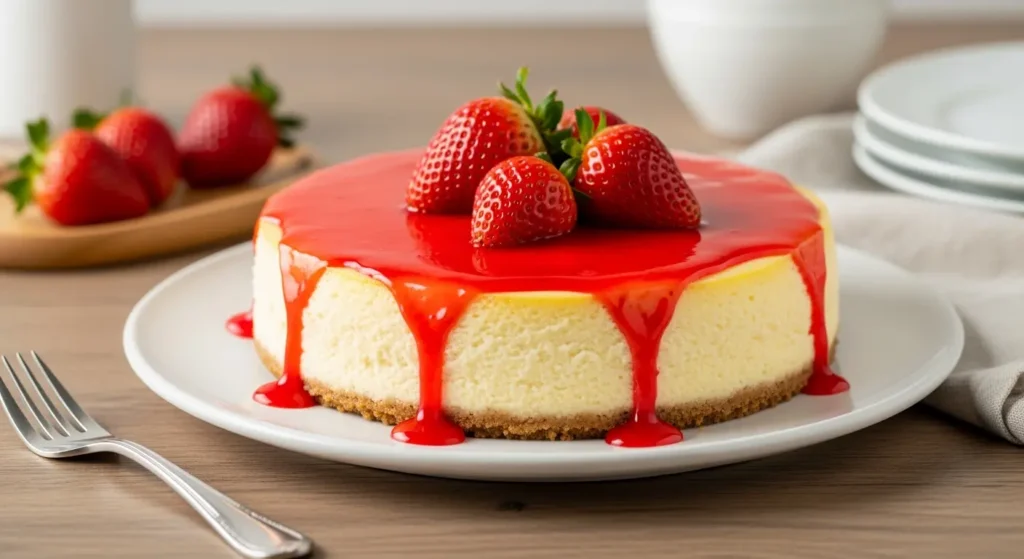
Real Strawberry Flavor, Not That Fake Stuff: We’re using actual strawberries here, not some artificial pink flavoring that tastes like medicine. I puree some right into the cheesecake, slice some for the top, and use fresh ones as garnish. It’s strawberry overload in the best possible way!
Make It and Forget It: This is the ultimate make-ahead dessert! It actually tastes better the next day because all those flavors get cozy together overnight. Perfect for when you’re hosting and don’t want to be stressed about dessert.
What You’ll Need (Don’t Panic, It’s Not That Scary!)
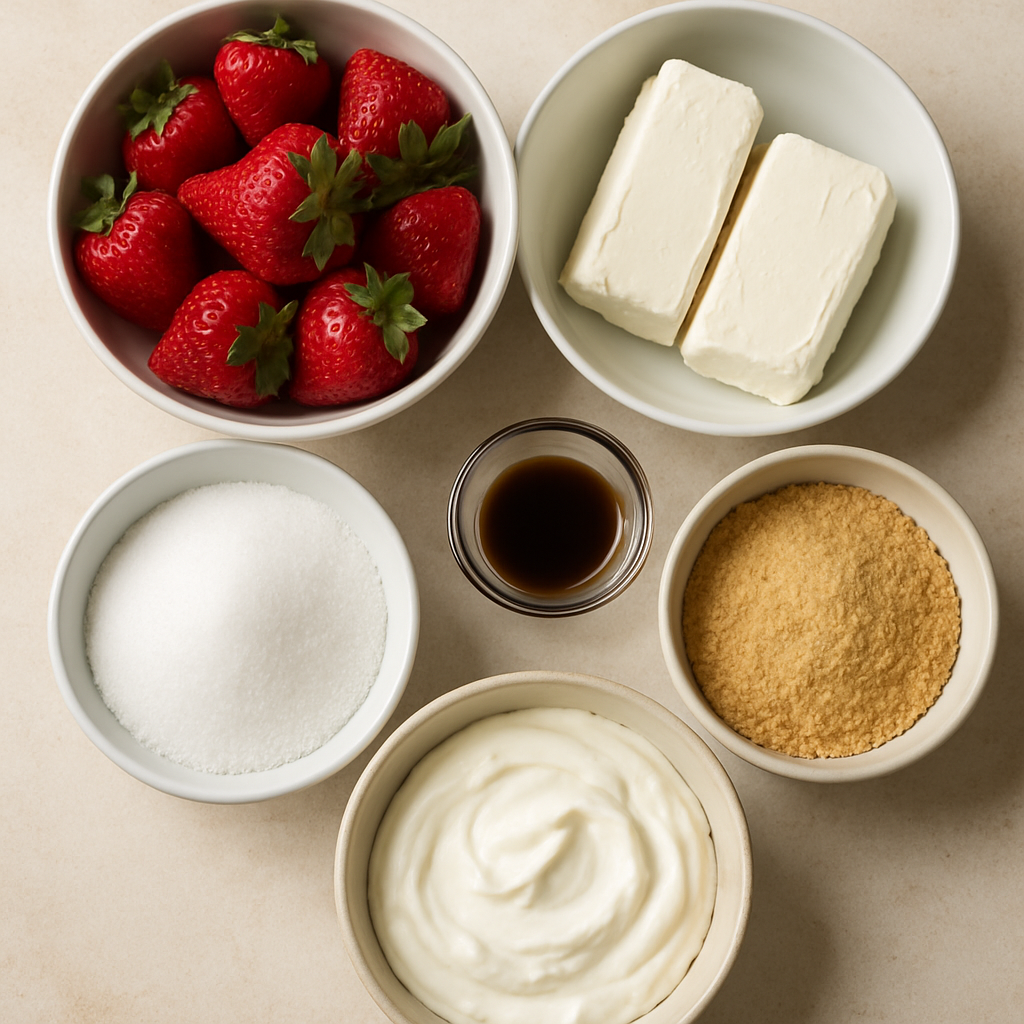
For the Cake Part:
- 1½ cups all-purpose flour
- 1 cup sugar
- 1½ teaspoons baking powder
- ½ teaspoon salt
- ⅓ cup melted butter
- 2 eggs (room temp please!)
- ¾ cup whole milk
- 2 teaspoons vanilla extract
For the Cheesecake Magic:
- 2 pounds cream cheese (yes, 2 pounds – don’t skimp!)
- 1 cup sugar
- 4 eggs (also room temp)
- ½ cup sour cream
- ¼ cup heavy cream
- 1 cup fresh strawberries, pureed
- 2 teaspoons vanilla
- 2 tablespoons cornstarch
For the Pretty Strawberry Top:
- 2 cups sliced fresh strawberries
- 3 tablespoons sugar
- 1 tablespoon lemon juice
- 2 teaspoons cornstarch
Equipment You’ll Need:
- 9-inch springform pan (seriously, don’t try this without one)
- Stand mixer or hand mixer
- Blender or food processor
- Some mixing bowls
- Fine strainer (trust me on this one)
Let’s Make This Thing! (Step by Step)
Getting Started:
- Preheat to 325°F – I know it seems low, but trust the process! Line your springform pan with parchment and butter the sides.
- Make strawberry puree: Wash and chop about a cup of strawberries, blend them smooth, then strain out those little seeds. Nobody wants gritty cheesecake!
The Cake Layer:
- Mix dry stuff: Whisk flour, sugar, baking powder, and salt in a big bowl.
- Mix wet stuff: In another bowl, whisk melted butter, eggs, milk, and vanilla until it’s all happy together.
- Combine carefully: Pour the wet into the dry and fold gently. Don’t go crazy mixing – lumps are totally fine! Overmixing = tough cake, and we don’t want that.
- Bake the base: Pour into your pan and bake for 20-25 minutes until it’s lightly golden. You want moist crumbs on a toothpick, not completely clean.
The Cheesecake Layer (This is Where the Magic Happens):
- Beat that cream cheese: Use your mixer to beat the cream cheese for 3-4 minutes until it’s super smooth. No lumps allowed!
- Add sugar slowly: Keep beating while you add sugar. You want it light and fluffy – about 2-3 minutes.
- Eggs one at a time: This is important! Add each egg and let it fully mix in before adding the next.
- Everything else: Add sour cream, heavy cream, your strawberry puree, vanilla, and cornstarch. Mix just until combined – don’t overdo it or you’ll get cracks.
Putting It All Together:
- Layer time: Pour the cheesecake mixture over your cake. Tap the pan gently to get rid of air bubbles.
- Back to the oven: Bake for 45-55 minutes. It should be set around the edges but still a little jiggly in the center – that’s perfect!
- Cool it down: Turn off the oven and crack the door. Let it chill there for an hour, then move to a cooling rack.
- Patience is key: Cover and refrigerate for at least 4 hours, but overnight is even better.
The Final Touch:
- Strawberry topping: Mix sliced strawberries with sugar, lemon juice, and cornstarch. Let it sit for 15 minutes to get all juicy.
- Showtime: Right before serving, pile those gorgeous strawberries on top!
Quick Stats (Strawberry Cheesecake Recipe)
Prep: 30 minutes
Bake: About 1 hour 15 minutes
Chill: 4+ hours (seriously, don't skip this)
Serves: 12-16 people
Difficulty: You got this! (Intermediate)
My Best Tips (Learn from My Mistakes!)

Room temp ingredients are EVERYTHING: I cannot stress this enough! Cold cream cheese = lumpy disaster. Take everything out 2-3 hours before you start.
Don’t overmix: Once those eggs go in the cheesecake, mix gently. Too much air = cracks, and while they taste fine, they’re not Instagram-worthy.
The jiggle is real: Your cheesecake should still wiggle a tiny bit in the center when you take it out. It’ll finish setting as it cools.
Cool it gradually: Don’t shock your poor cheesecake by taking it from hot oven to cold kitchen. Baby steps!
When Things Go Wrong (Because Sometimes They Do):
Cracked cheesecake? Don’t panic! The strawberry topping will totally hide it. Also, temperature shock is usually the culprit.
Dense cake layer? You probably overmixed. It’ll still taste good, just learn for next time.
Cheesecake didn’t set? Make sure your cream cheese was really soft and you baked long enough. A little jiggle is fine, but it shouldn’t be soupy.
Want to Switch Things Up?
- Going gluten-free? Use a 1:1 GF flour blend. It won’t be exactly the same, but still delicious!
- Dairy-free? Vegan cream cheese works, but it’ll be less rich
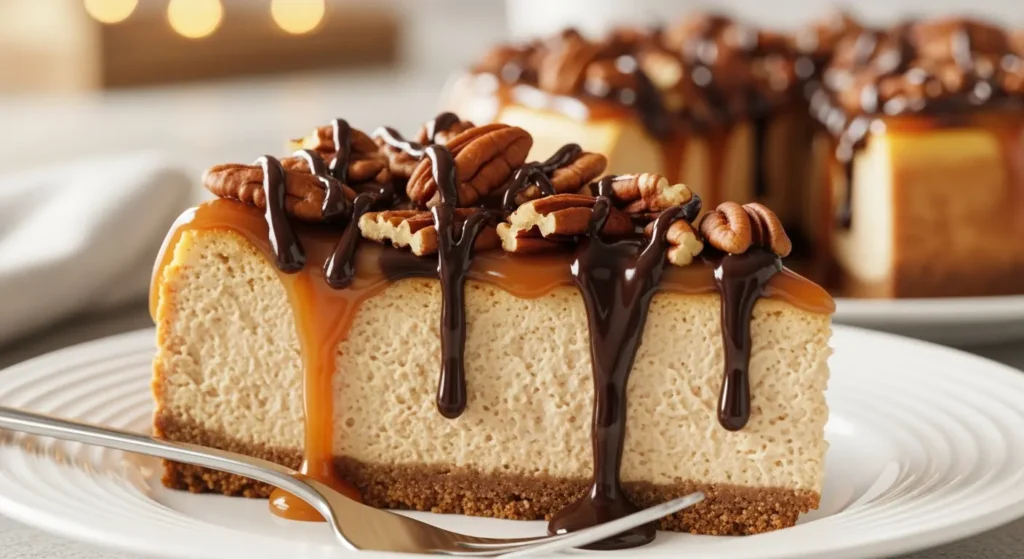
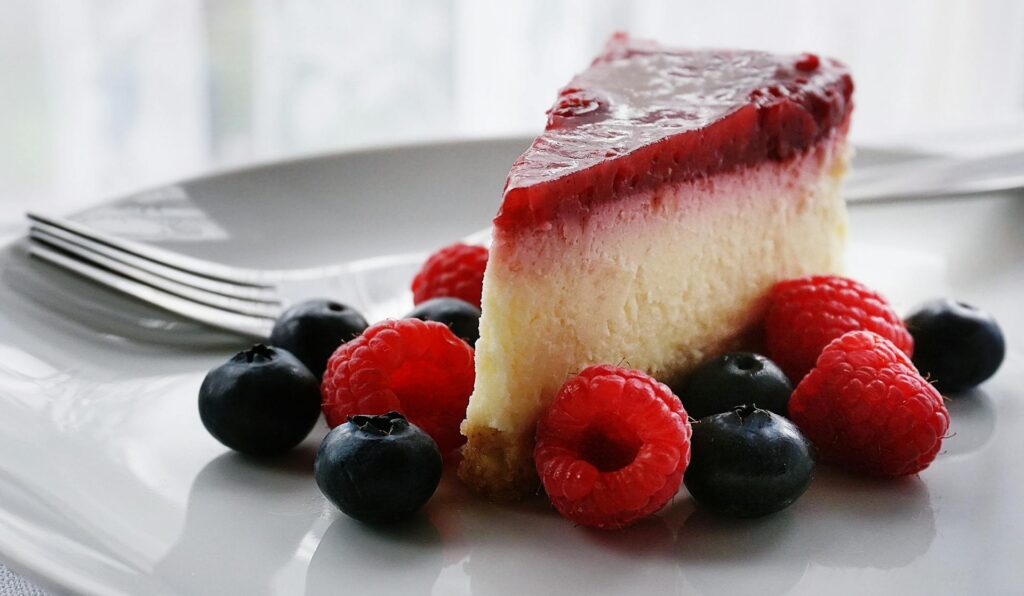
- Other berries? Absolutely! Try raspberries or blueberries instead
The Numbers (If You Care About That Stuff)
Per slice (if you cut it into 14 pieces):
- About 385 calories
- 24g fat
- 38g carbs
- 8g protein
These are estimates – your slice might be bigger than mine!
Questions Everyone Asks Me
Can I make this ahead? YES! Actually, please do. It tastes way better after sitting overnight. Make the whole thing, then add the strawberry topping right before serving.
How long will it last? About 5 days in the fridge if you can resist eating it all. The strawberry topping might get a little juicy, but it’s still amazing.
Can I freeze it? Totally! Just don’t put the strawberry topping on first. Wrap it really well and it’ll keep for 2 months. Thaw in the fridge overnight.
How do I get perfect slices? Warm knife, clean between cuts. That’s the secret to those pretty Instagram slices!
Frozen strawberries okay? For the puree, sure! But fresh is better for the topping – frozen ones get mushy.
Why strain the puree? Nobody wants seeds in their silky cheesecake. Trust me on this!
Guys, you HAVE to try this recipe! Seriously, I’m obsessed and I think you will be too. Let me know in the comments how it turns out – I love seeing your creations! Did you try any fun variations? Tag me in your photos because I live for that stuff!
Don’t forget to save this recipe and share it with your fellow dessert lovers. We’re all in this sugar addiction together!
Reviews
There are no reviews yet. Be the first one to write one.