Table of Contents
Table of Contents
Let’s Talk About Real Cheesecake
Okay, can we have a heart-to-heart about cheesecake for a second? You know that moment when you take a bite of something so ridiculously good that you actually close your eyes and do that little “mmm” sound? That’s what happens with this new york cheesecake recipe – I’m not even kidding.
Look, I’ve been on a quest for the perfect cheesecake for years (tough job, but someone’s gotta do it), and this classic new york cheesecake is IT. We’re talking about that thick, creamy, slightly tangy perfection that makes you understand why New York gets all the credit for this dessert.
If you’ve ever been disappointed by a sad, cracked cheesecake that tastes more like sweetened cardboard than heaven on a plate, I feel you. This cheesecake recipe is going to change everything. No more kitchen disasters, no more “eh, it’s okay” desserts – just pure, baked new york cheesecake bliss that’ll have your friends begging for the recipe.
Why This New York Cheesecake Rocks
It’s Dense in All the Right Ways
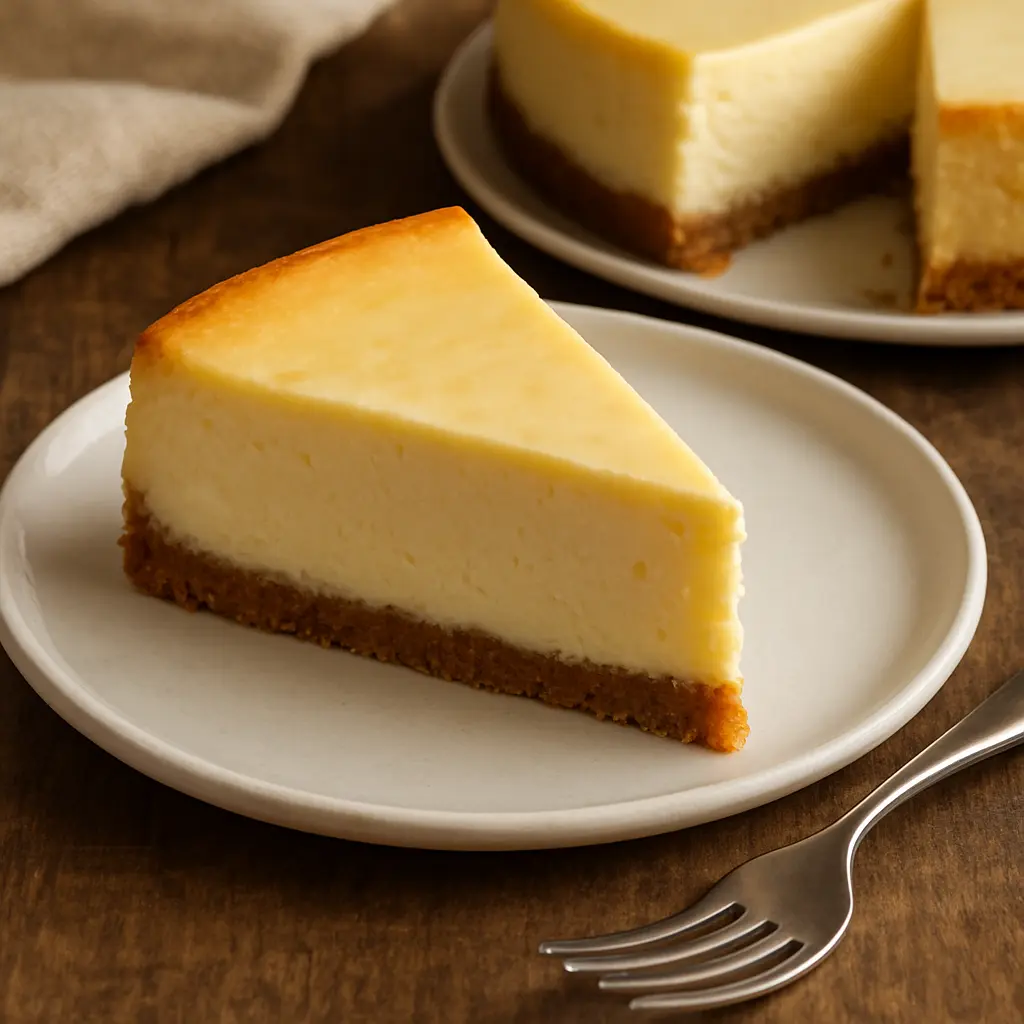
This isn’t some fluffy, airy imposter cheesecake. Nope! This classic new york cheesecake is wonderfully thick and rich – the kind where one slice actually satisfies you (well, maybe). It’s got that perfect creamy texture that just melts in your mouth but still feels substantial. You know, like a real dessert should.
The Perfect Sweet-and-Tangy Thing
Here’s what I love most about a good new york style cheesecake recipe – it’s not just sugar overload. There’s this amazing balance where the cream cheese and sour cream create this tangy backdrop that makes the sweetness pop without being cloying. It’s sophisticated but not stuffy, if that makes sense.
Actually Foolproof (No, Really!)
I know everyone says their recipe is “foolproof,” but this baked new york cheesecake actually is. I’ve walked friends through it over FaceTime, and they nailed it. The instructions are clear, the timing works, and you won’t end up with those annoying cracks that make your cheesecake look like it went through an earthquake.
Gets Better With Age
This might sound weird, but this cheesecake is like a fine wine – it gets better overnight. The flavors meld together, and the texture becomes even more amazing. Plus, you have to make it ahead anyway, so it’s perfect for parties or when you want to look super organized.
Your Blank Canvas
Once you master this basic new york cheesecake recipe, you can go crazy with toppings and flavors. Berry sauce, chocolate drizzle, caramel – whatever makes your heart happy. But honestly? It’s pretty perfect just as is.
What You’ll Need (Shopping List Time!)
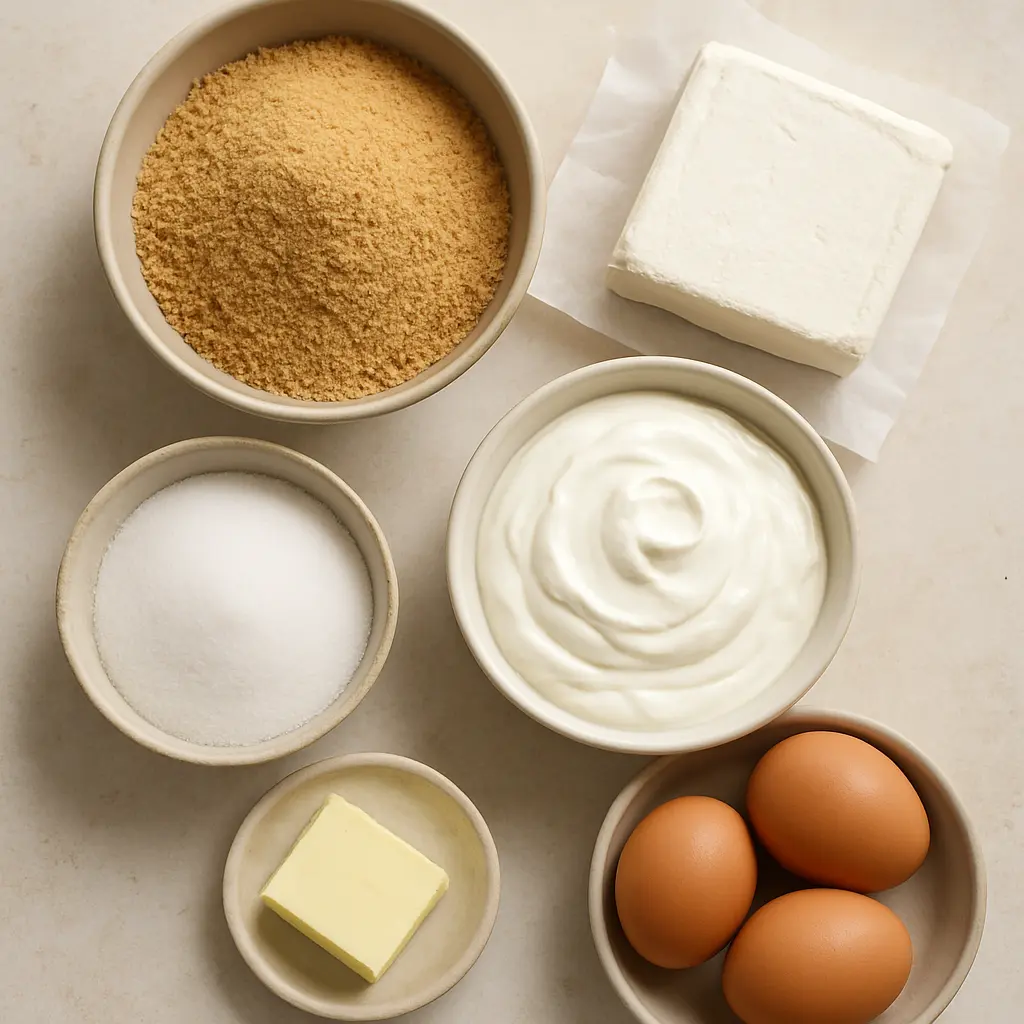
For the Crust (The Foundation of Dreams):
- 1½ cups graham cracker crumbs (just buy the box and crush ’em yourself – it’s weirdly therapeutic)
- ⅓ cup sugar
- 6 tablespoons butter, melted (the good stuff, not margarine – we’re not animals)
- A tiny pinch of salt
For the Star of the Show:
- 2 pounds cream cheese (that’s four 8oz blocks – yes, really!)
- 1¼ cups sugar
- 4 large eggs
- ⅔ cup sour cream
- ⅓ cup heavy cream
- 2 teaspoons vanilla extract (the real stuff, please)
- 1 tablespoon flour
- ¼ teaspoon salt
The Room Temperature Thing (This is IMPORTANT!)
Listen, I cannot stress this enough – everything needs to be at room temperature. I know it’s annoying to plan ahead, but cold cream cheese is the enemy of smooth cheesecake. Trust me on this one. Pull everything out of the fridge like 3 hours before you start, or you’ll be fighting lumps like it’s your job.
If you forgot (been there!), cut the cream cheese into chunks and zap it in the microwave for 15-second bursts. Just don’t melt it – we want soft, not soup.
Why Full-Fat Everything?
Don’t even think about using light cream cheese. I tried it once, and it was a disaster. You want the rich, dense texture that makes classic new york cheesecake famous. Philadelphia cream cheese works great, but honestly, most brands are fine as long as they’re full-fat.
The Secret Ingredient: Sour Cream
This is what gives New York cheesecake that signature tang. It’s not optional! It also helps keep everything creamy and prevents cracks. Basically, sour cream is your friend here.
That Tiny Bit of Flour
One tablespoon might seem pointless, but it’s like insurance for your cheesecake. It helps everything set properly and prevents cracks. Don’t skip it – it’s not going to make your cheesecake taste floury or anything.
Let’s Get Baking!
Set Yourself Up for Success
- Crank your oven to 325°F (that’s about 163°C for my international friends).
- Get yourself a 9-inch springform pan and wrap the outside with heavy-duty foil. Like, really wrap it good – you don’t want water sneaking in during the water bath.
- Grease the inside with butter. Don’t be shy about it.
Make That Crust
- Mix your graham cracker crumbs, sugar, melted butter, and salt in a bowl. It should stick together when you squeeze it.
- Press it into the bottom of your pan. Use the bottom of a measuring cup to really pack it down – you want it firm.
- Pop it in the oven for 10 minutes, then take it out and turn your oven down to 300°F.
The Main Event
- Beat the heck out of your cream cheese with an electric mixer until it’s super smooth – like 3-4 minutes of beating. Don’t rush this part!
- Slowly add the sugar and beat until it’s all mixed in.
- Add your eggs one at a time, mixing just until each one disappears. Don’t go crazy here.
- Mix in the sour cream, heavy cream, vanilla, flour, and salt. Again, just until combined – overmixing is the enemy!
The Water Bath Magic
- Pour your filling over the crust and smooth the top.
- Put your springform pan inside a big roasting pan and pour hot water about halfway up the sides. This is called a water bath, and it’s what keeps your cheesecake from cracking.
- Bake for 60-70 minutes. You want the center to be almost set but still have a tiny wiggle when you shake it gently.
- Turn off the oven, crack the door open, and let it chill there for an hour. No peeking!
The Waiting Game
- Take it out of the water bath and let it cool completely on the counter.
- Wrap it up and stick it in the fridge for at least 8 hours, but overnight is better.
Don’t Mess This Up: Pro Tips
Your Oven Might Be a Liar
Seriously, get an oven thermometer. Mine runs about 25 degrees hot, and I had no idea until I started really paying attention. If your oven’s running hot, your cheesecake will brown too fast and might crack.
The Water Bath Isn’t Optional
I know it seems like extra work, but this is what separates good cheesecake from great cheesecake. The steam keeps everything moist and prevents those ugly cracks. Just do it.
Patience, Grasshopper
That gradual cooling thing? Super important. If you shock your cheesecake by taking it from hot oven to cold kitchen, it’s going to crack. Let it ease into room temperature like it’s getting into a cold swimming pool.
Don’t Overmix Like I Used To
I learned this the hard way – too much mixing puts air bubbles in your batter, which leads to cracks and weird texture. Mix just until everything’s combined and call it good.
How to Tell When It’s Done
The center should still jiggle just a little bit when you gently shake the pan. It’ll keep cooking from the residual heat. If you overbake it, you’ll get that gross, grainy texture nobody wants.
Storage Situation
Keep it in the fridge, covered, for up to 5 days. Don’t freeze it unless you absolutely have to – it messes with the texture. And always serve it cold!
Make It Your Own
Topping Ideas That Rock
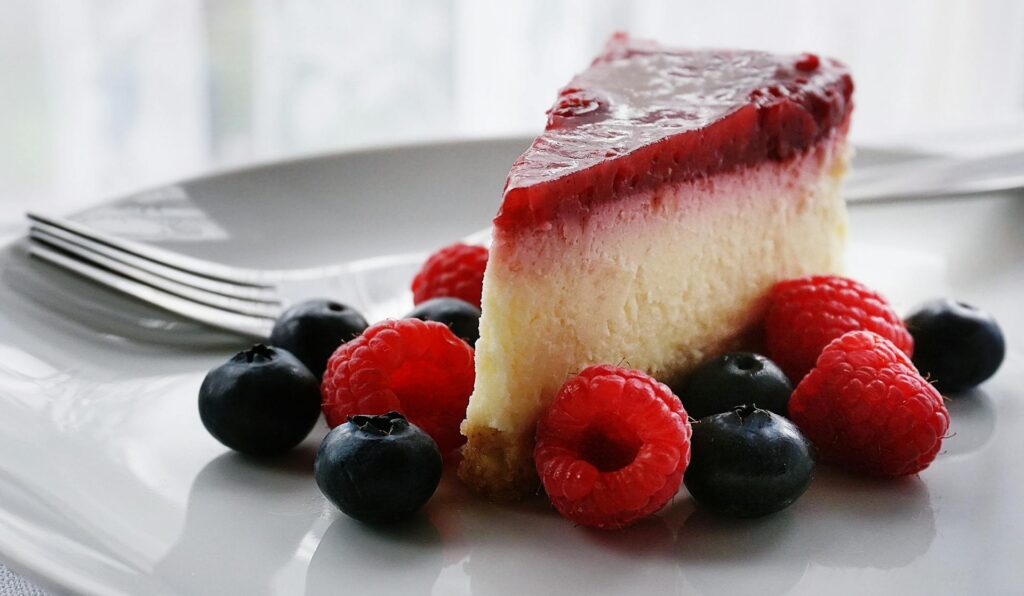
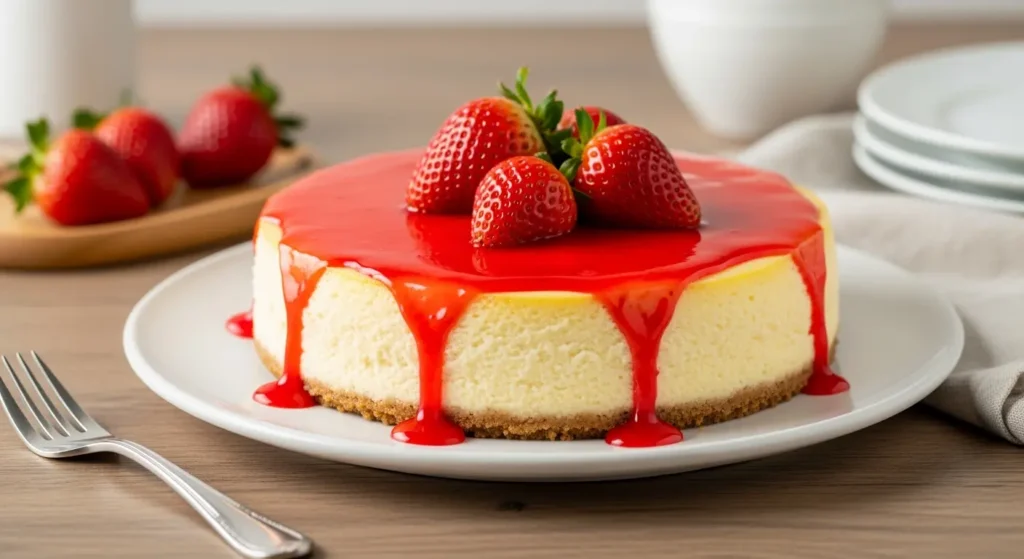
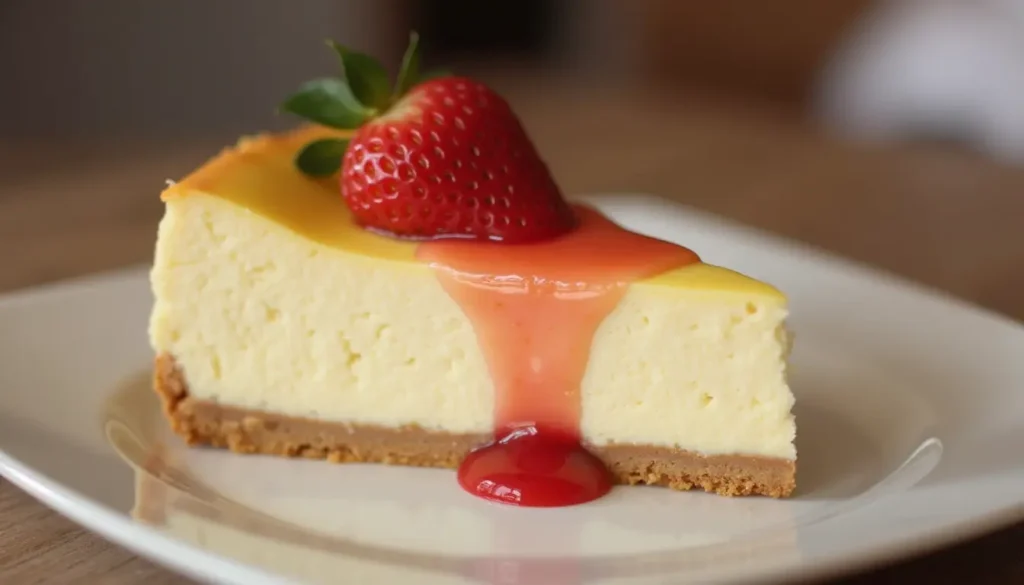
- Fresh berries with a little sugar (classic for a reason)
- Store-bought cherry or blueberry pie filling (no shame in shortcuts!)
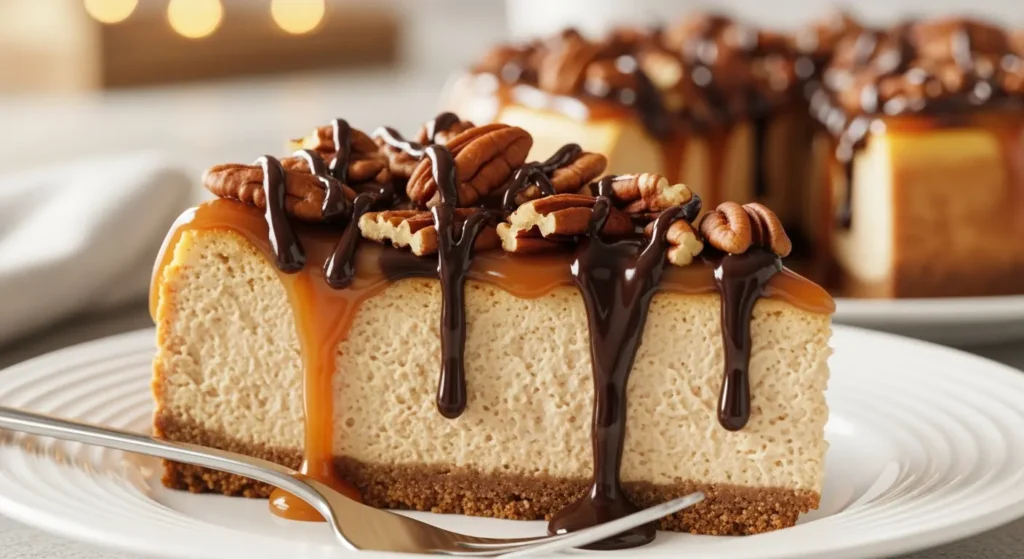
- Chocolate ganache (because chocolate makes everything better)
- Salted caramel sauce (sweet and salty perfection)
- Just a dusting of powdered sugar (sometimes simple is best)
Flavor Twists
- Lemon lover? Add 2 tablespoons fresh lemon juice and some zest
- Chocolate chip situation: Fold in ¾ cup mini chips (toss them in flour first so they don’t sink)
- Fancy vanilla: Use real vanilla bean seeds instead of extract
- Coffee kick: Mix in some instant espresso dissolved in hot water
Crust Alternatives
- Chocolate cookie crust (use Oreos without the filling)
- Vanilla wafer crust for something different
- Gingersnap crust for fall vibes
- Pretzel crust for that sweet-salty thing
Serving Like a Pro
Use a sharp knife dipped in warm water, and wipe it clean between cuts. This keeps your slices looking neat instead of like you attacked them with a spoon.
Recipe Card (The Quick Version)
- Prep: 30 minutes
- Bake: 70 minutes
- Chill: Overnight (seriously, don’t skip this)
- Serves: 12-16 people (or 4 people with no self-control)
- Difficulty: Easier than you think!
Nutrition Stuff (per slice)
- Calories: 385 (but who’s counting?)
- Fat: 28g
- Carbs: 28g
- Protein: 8g
- Happiness: Immeasurable
Help! My Cheesecake Is…
Cracked Like the Desert
This usually happens from overbaking, temperature shock, or overmixing. Use that water bath, cool it gradually, and don’t beat the life out of your batter.
I Don’t Have a Springform Pan!
You can use a regular cake pan, but line it with parchment paper that comes up the sides. It’s just going to be trickier to get out in one piece.
How Long Will This Last?
About 5 days in the fridge, but good luck making it last that long. It actually tastes better the next day, so there’s your excuse to make it ahead.
Can I Freeze It?
I really don’t recommend it – freezing messes with the texture. But if you absolutely must, wrap it really well and freeze for up to a month. Thaw it slowly in the fridge.
My Filling Is Lumpy!
Room temperature ingredients, my friend! If it’s too late and you’ve got lumps, strain the whole thing through a fine-mesh sieve. Pain in the butt, but it works.
Gluten-Free Options?
Totally doable! Use gluten-free graham crackers for the crust and either use cornstarch instead of flour or just leave it out entirely.
It’s Too Runny!
You probably underbaked it. The center should barely wiggle when done. If it’s sloshy, put it back in the oven for 10-15 more minutes.
What’s the Deal With Different Cheesecake Styles?
New York style is the thick, dense, slightly tangy version we all love. Philadelphia style is lighter and usually just cream cheese and eggs. New York style is where it’s at, trust me.
Let’s Wrap This Up
So here’s the deal – this new york cheesecake recipe is going to change your dessert game. It’s rich, creamy, perfectly tangy, and way easier than you think. Plus, making it makes you look like some kind of baking wizard, which is always fun.
Seriously, just try it. Your friends are going to lose their minds, and you’re going to wonder why you ever bought cheesecake from the store. When you make it (not if, when), snap a pic and tag it with #HomemadeNYCheesecake so I can see your beautiful creation!
Did you try this recipe? Drop a comment and let me know how it went! Your reviews help other people decide if they want to take the cheesecake plunge, so spill the tea – good or bad, I want to hear it.
Reviews
There are no reviews yet. Be the first one to write one.