Table of Contents
Table of Contents
So last summer, I’m standing in my kitchen holding this sad excuse for cheesecake from the store – you know the type, packed with more chemicals than actual food – and I thought, “There’s gotta be a better way!” That disappointing slice basically launched me into full-on kitchen mad scientist mode, and honestly? Best mistake I ever made because I ended up creating the most amazing healthy cheesecake recipe that’ll blow your mind.
Here’s the thing – I was trying to have my cake and eat it too (literally). I wanted something that’d satisfy my serious sweet tooth but wouldn’t make me feel guilty afterward. And let me tell you, when I served this to my family, they were like “Wait, this is actually GOOD for us?” My dad, who’s basically a dessert skeptic, went back for seconds!
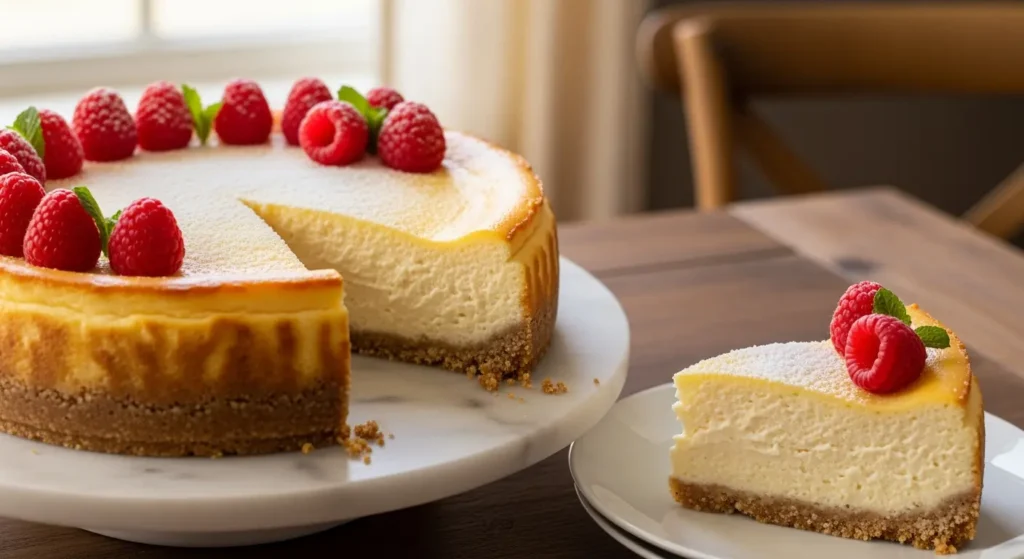
This isn’t one of those “healthy” recipes that tastes like cardboard and disappointment. We’re talking rich, creamy, New York-style cheesecake vibes but with Greek yogurt, natural sweeteners, and all the good stuff your body actually wants. The best part? Each slice is only about 180 calories compared to those 400+ calorie monsters you get elsewhere. Trust me, you won’t even miss the extra calories!
My Go-To Healthy Cheesecake Recipe (That Actually Tastes Amazing!)
What I Call It: Ultimate Healthy Vanilla Cheesecake
Prep Time: 20 minutes (basically just mixing stuff)
Cook Time: 45 minutes
Chill Time: 4 hours (the hardest part – waiting!)
Total Time: About 5 hours
Serves: 12 people (or just you over several days, no judgment)
Difficulty: Super beginner-friendly – if I can do it, you can too!
What You’ll Need

For the Crust (the foundation of dreams):
- 1½ cups almond flour (or graham crackers if you’re feeling classic)
- 3 tablespoons melted coconut oil
- 2 tablespoons pure maple syrup
- ½ teaspoon vanilla extract
- A pinch of sea salt
For the Good Stuff (aka the filling):
- 24 oz reduced-fat cream cheese, softened (don’t skip the softening!)
- 1 cup plain Greek yogurt (0% fat – we’re being good here)
- ¾ cup pure maple syrup or monk fruit sweetener
- 3 large eggs, room temperature
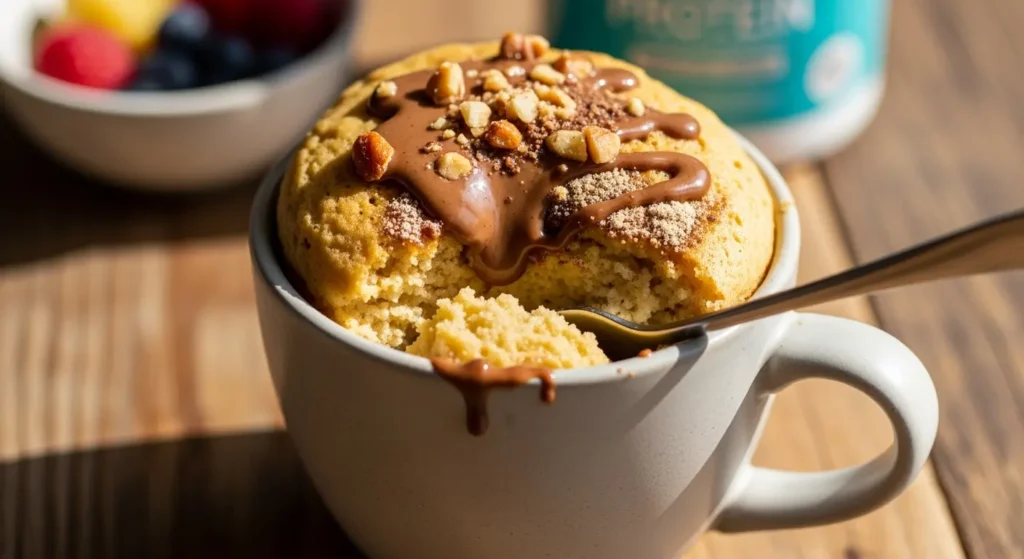
- ¼ cup vanilla protein powder (totally optional but hey, extra protein!)
- 2 teaspoons vanilla extract
- 1 tablespoon fresh lemon juice
- 1 tablespoon cornstarch
Here’s How We Make Magic Happen (Step By Step)
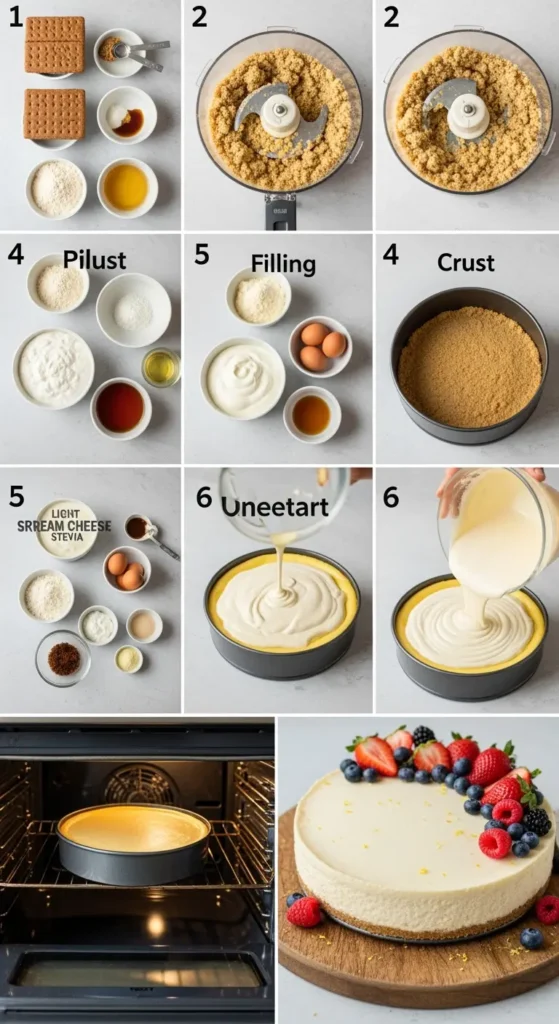
- Get your oven ready: Heat it up to 325°F. Line your 9-inch springform pan with parchment paper and give it a little grease. Pro tip: if you don’t have a springform pan, you can use a regular cake pan, but getting it out might be… an adventure.
- Make the crust: Mix all your crust ingredients in a bowl, then press it into your pan like you mean it. Use the bottom of a measuring cup to really get it even. Bake for 10 minutes until it’s looking golden and smelling amazing.
- Time for the filling: Beat that cream cheese until it’s smooth as silk – about 3 minutes should do it. Nobody wants lumpy cheesecake! Add the Greek yogurt and sweetener, and keep beating.
- Add everything else: Crack in those eggs one at a time (patience, grasshopper), then mix in the protein powder if you’re using it, vanilla, lemon juice, and cornstarch. Don’t go crazy with the mixing here – just until it’s combined.
- Bake it up: Pour everything over your crust and smooth the top. Bake for 45-50 minutes. You’ll know it’s done when the center is almost set but still has a tiny jiggle – like jello that’s not quite ready yet.
- The cooling game: Turn off your oven but leave the door cracked open. Let it hang out in there for an hour, then move it to the fridge for at least 4 hours. Overnight is even better if you can wait that long!
The Stats (per slice):
- Calories: 185 (not too shabby!)
- Protein: 12g
- Carbs: 14g
- Fat: 9g
- Fiber: 2g
- Sugar: 11g
Voice Search Keywords: “easy healthy cheesecake recipe,” “low calorie cheesecake recipe”
Everything You Need to Know to Nail This Recipe
The Secret to Cheesecake Success (From Someone Who’s Made All the Mistakes)
Okay, let’s talk about what actually makes this work. First off – and I can’t stress this enough – get your ingredients to room temperature before you start. I know it’s annoying to plan ahead, but trust me on this one. Cold cream cheese is basically impossible to mix smoothly, and lumpy cheesecake is sad cheesecake.
When you’re making the crust, really press that almond flour down. I like to use the bottom of a measuring cup and just go to town on it. You want it compact and even, maybe going slightly up the sides if you’re feeling fancy.
Here’s where people mess up the most: beating the cream cheese. You want it completely smooth before you add anything else. Like, really go for it – beat it for a full 3 minutes until it’s fluffy and perfect. This is what prevents those dreaded lumps that’ll haunt your dreams.
The Greek yogurt is basically the MVP here. It adds this amazing tangy flavor plus tons of protein, which makes this a legit healthy cheesecake recipe that won’t leave you feeling guilty afterward.
Ways to Mix It Up (Because Variety is the Spice of Life)
Going Sugar-Free: Want to make this a sugar free cheesecake recipe? Just swap the maple syrup for erythritol, stevia, or monk fruit sweetener. Start with the same amount and taste as you go – some of these sweeteners pack more punch than others!
Dairy-Free Version: If dairy’s not your friend, you can totally use cashew cream cheese instead, plus coconut yogurt. It’ll taste a bit different but still amazing. Fair warning though – the texture might be a little different, but honestly? Still delicious.
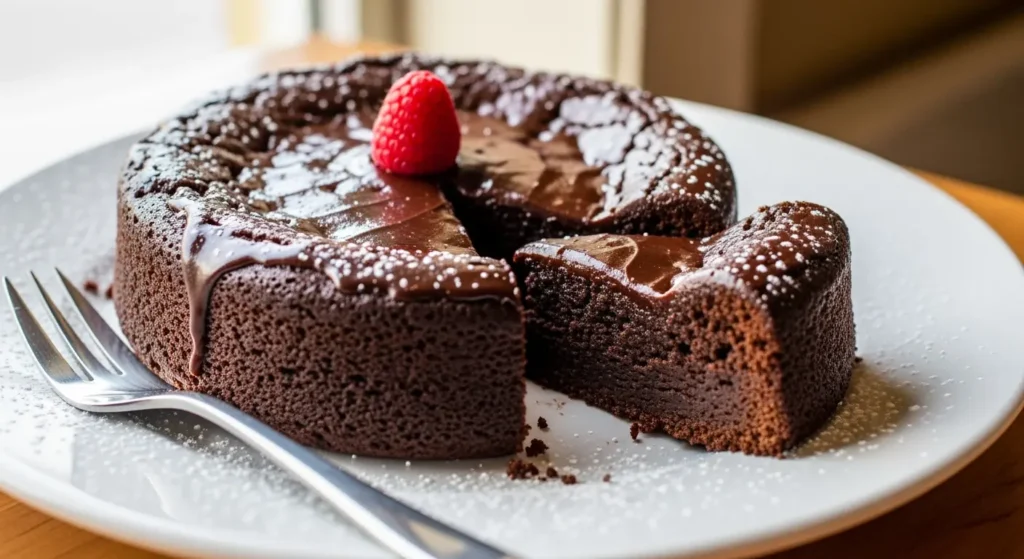
Flavor Adventures: This is where you can get creative! Throw in 2 tablespoons of cocoa powder for a chocolate version, or fold in some fresh berries. My personal favorite? A little lemon zest for that perfect spring vibe.
Storage Tips: This baby keeps in the fridge for up to 5 days (if it lasts that long). Want to meal prep? Cut it into slices and freeze them individually. They’ll keep for 3 months, and you can just grab one whenever you need a sweet fix.
A Little Cheesecake History (Because Why Not?)
Fun fact: cheesecake is ancient! Like, ancient Greece ancient. They used to serve it to Olympic athletes, which honestly makes me feel way better about eating it for breakfast sometimes. The American version we all know and love came around in the 1920s when cream cheese became a thing.
This healthy version is like the best of both worlds – all that classic creamy goodness but with ingredients that actually do your body some favors.
Why This Recipe is Actually Good for You
Let’s talk about the Greek yogurt for a sec – this stuff is packed with probiotics that are amazing for your gut health, plus protein that’ll keep you satisfied. That’s why this works so well as a protein cheesecake recipe if you’re into the fitness thing.
The almond flour crust? Full of healthy fats, vitamin E, and magnesium. Plus it keeps everything gluten-free without even trying. And using maple syrup instead of regular sugar means you’re getting some actual nutrients instead of just empty calories.
Gear You’ll Want (But Don’t Stress if You Don’t Have Everything)
A stand mixer makes this SO much easier – I’ve got a KitchenAid and it’s basically my kitchen bestie. But honestly? A good hand mixer will do the trick too.
You really do need a springform pan for this one. Trust me, trying to get cheesecake out of a regular pan is like performing surgery. Nordic Ware makes great ones that won’t break the bank.
If you’re into precision (or just want consistent results), a kitchen scale is clutch. But measuring cups work fine too – we’re not building rockets here!
Making This Part of Your Healthy Dessert Game
Once you master this recipe, you’ve basically unlocked the secret to healthy baking. The tricks you’ll learn here – using Greek yogurt, natural sweeteners, almond flour – work in tons of other desserts too.
This pairs amazingly with fresh berry compote, or you could go wild and make a whole dessert spread with protein chocolate mousse or some naturally sweetened fruit tarts. Your friends will think you’re some kind of healthy dessert wizard!
Questions Everyone Asks Me About This healthy cheesecake recipe
Can I make this completely sugar-free?
Totally! Just swap out the maple syrup for powdered erythritol or monk fruit sweetener – same amount. These sugar alternatives keep all the sweetness but none of the sugar, which is perfect if you’re doing keto or managing diabetes. Just taste as you go since some sweeteners are stronger than others!
Help! My cheesecake cracked – what did I do wrong?
Don’t panic – it happens to the best of us! Usually it’s because you overmixed the batter, your ingredients weren’t room temp, or you baked it too long. That slow cooling trick (leaving it in the turned-off oven) is a total game-changer for preventing cracks. Even if it does crack though, it’ll still taste amazing!
Can I use regular yogurt instead of Greek yogurt?
You can, but Greek yogurt is way better here. It’s thicker and has way more protein, which is kinda the whole point. Regular yogurt might make your cheesecake a bit looser and you’ll miss out on those protein benefits that make this such a great protein cheesecake recipe.
How long will this last in my fridge?
It’ll stay fresh for about 5 days in the fridge, maybe even longer thanks to all that protein from the Greek yogurt. Honestly though, mine never lasts that long because it’s just too good!
Is this good for meal prep?
Oh my gosh, YES! This is actually one of those desserts that gets better after sitting in the fridge for a day or two – all the flavors meld together beautifully. I like to cut it into individual portions and store them in containers for easy grab-and-go treats.
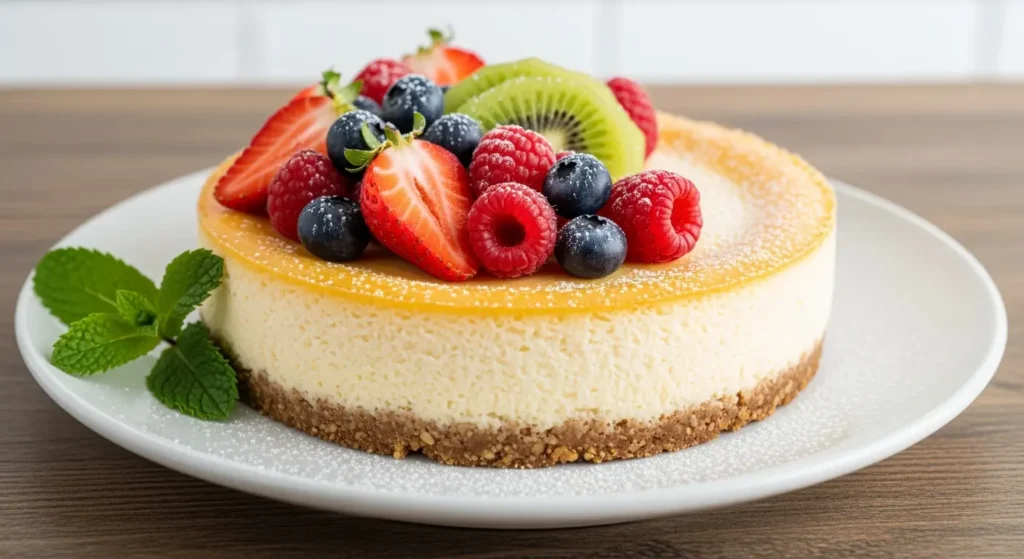
Can I throw some fresh fruit in there?
Absolutely! Fresh berries work great – just fold them gently into the filling before baking, or use them as a gorgeous topping after it’s chilled. Just don’t go overboard with super juicy fruits since too much moisture can mess with how it sets.
Reviews
There are no reviews yet. Be the first one to write one.