Table of Contents
Table of Contents
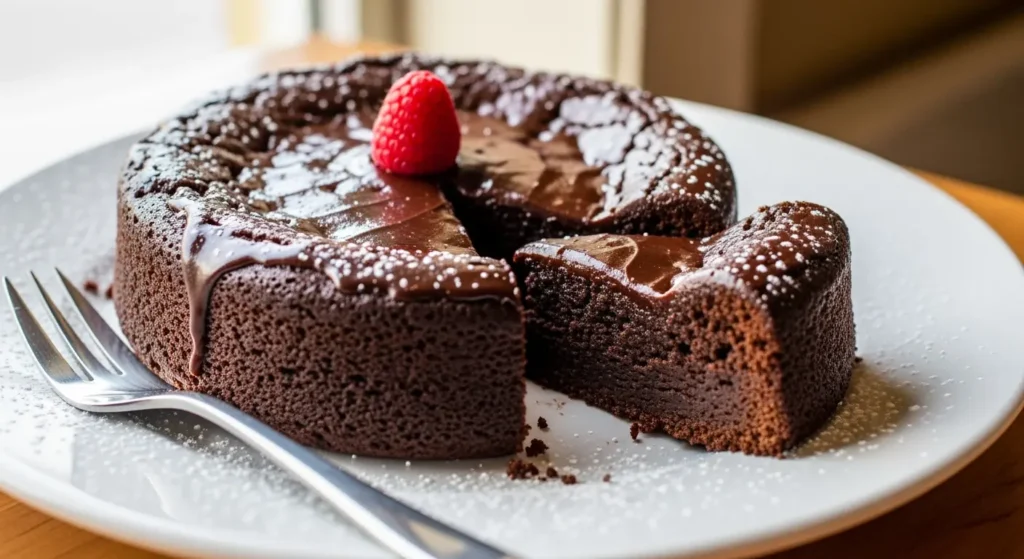
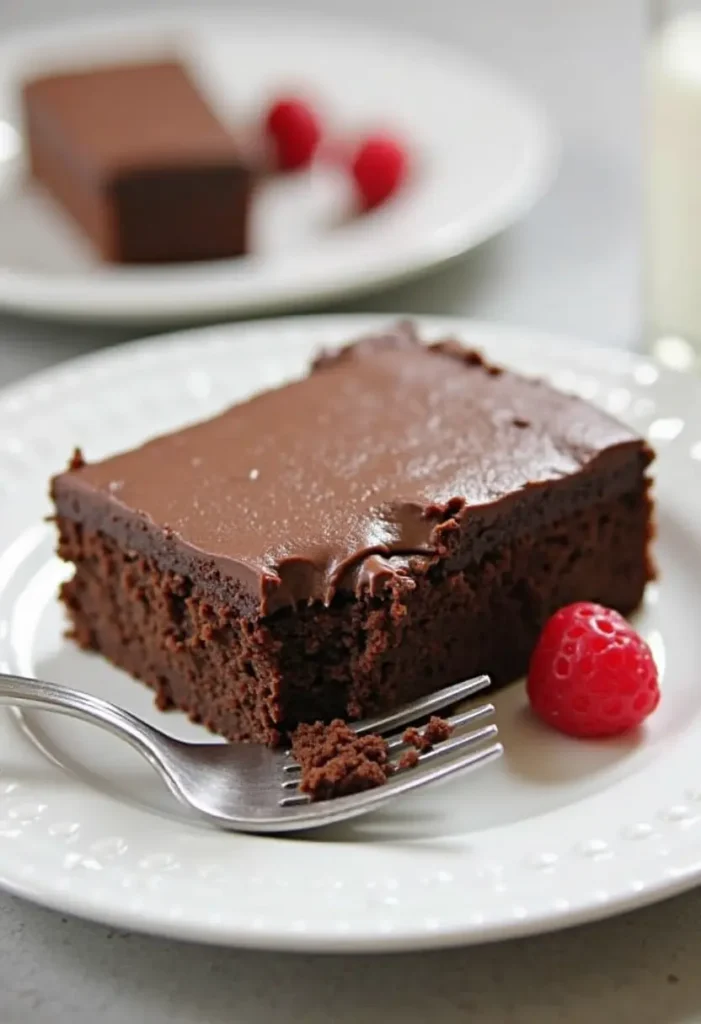
Imagine a dessert that’s incredibly rich, fudgy, and indulgent, yet surprisingly easy to make—one that requires no flour, naturally accommodates gluten-free diets, and delivers restaurant-quality results every single time. If you’ve been searching for the ultimate flourless chocolate cake recipe that never fails to impress, your quest ends today.
My own journey to perfecting this flourless chocolate torte began five years ago when my sister was diagnosed with celiac disease. Traditional chocolate cakes were suddenly off-limits for family gatherings, and store-bought gluten-free alternatives left much to be desired. After testing dozens of recipes—some too dense, others lacking that deep chocolate flavor—I finally cracked the code to creating an easy flourless chocolate cake that’s become our family’s signature dessert.
What you’ll discover in this comprehensive guide isn’t just another healthy cake recipe—it’s a foolproof system for creating a dessert so decadent that guests consistently ask if it came from a high-end bakery. This naturally gluten-free masterpiece combines premium chocolate with simple techniques that guarantee success, whether you’re a novice baker or seasoned pastry enthusiast.
What Makes This Cake So Damn Good
Look, I’ve made A LOT of flourless chocolate cakes, and most of them are just… fine. But there are a few tricks that turn “fine” into “oh my god, can I have the recipe?”
The Chocolate Situation (This Is Important!)
First things first – don’t cheap out on the chocolate. I’m talking to you, person reaching for the baking chips! Get yourself some good dark chocolate with 60-70% cocoa. My go-to is those Trader Joe’s Pound Plus bars because they’re cheap AND good (win-win).
Here’s why it matters: too bitter (like 85% dark) and people will make that scrunched-up face. Too sweet (milk chocolate) and your cake will taste like a candy bar had a baby with pudding. Not cute.
Good chocolate also has more cocoa butter, which gives you that melt-in-your-mouth thing that makes people think you’re some kind of dessert wizard.
The Great Fat Debate (Spoiler: I Use Both)
Okay, so most recipes are either team butter or team oil. But why choose sides when you can have the best of both worlds? I use butter for flavor (because duh) and a little neutral oil for moisture.
Trust me on this – it prevents that sad, crumbly cake situation while keeping all that buttery goodness. Just don’t use olive oil unless you want your cake to taste like a chocolate salad. Vegetable or canola oil is your friend here.
Egg Magic (The Secret to Not-Dense Cake)
Here’s where things get a tiny bit fancy, but stick with me. You know how some flourless cakes are basically chocolate bricks? Yeah, that’s because people just dump whole eggs in there and call it a day.
The trick is separating your eggs and whipping the whites until they’re fluffy. Then you fold them in super gently. It’s like giving your cake a little air pillow so it doesn’t turn into a chocolate paperweight.
Just don’t go crazy with the whipping – you want soft peaks, not meringue mountains.
My Secret Weapons (Optional But Amazing)
Three little things that make people go “what’s in this?!” in the best way:
- Espresso powder: Just a teaspoon. It doesn’t make it taste like coffee, it just makes the chocolate taste MORE like chocolate. Science!
- Good vanilla: Not the fake stuff. Get the real deal.
- A pinch of sea salt: Because everything’s better with a little salt. Fight me.
Alright, Let’s Make This Thing
What You’ll Need:
- 8 oz dark chocolate (60-70%), chopped up
- 6 tablespoons butter
- 2 tablespoons neutral oil (vegetable or canola)
- 4 eggs (you’ll separate these)
- 3/4 cup sugar (split it up)
- 1 teaspoon vanilla
- 1 teaspoon instant espresso powder (optional but recommended)
- 1/4 teaspoon sea salt
- Cocoa powder for making it look fancy
Equipment:
- 9-inch springform pan (seriously, don’t try to use a regular pan and flip this thing)
- Mixer (stand or hand, whatever you’ve got)
- Double boiler or just use your microwave like a normal person
- Rubber spatula
Let’s Do This (Flourless Chocolate Cake):
Step 1: Get Your Oven Ready
Heat it to 350°F. Grease your springform pan like your life depends on it, and throw some parchment paper on the bottom. Future you will thank present you for this.
Step 2: Melt All The Good Stuff
Melt your chocolate, butter, and oil together. If you’ve got a double boiler, cool. If not, just microwave it in 30-second bursts and stir between each one. Don’t get impatient and blast it – burnt chocolate tastes like sadness.
Let it cool down a bit. You want it warm, not lava-hot.
Step 3: Egg Yolk Business
In a big bowl, whisk your egg yolks with half the sugar (that’s about 1/2 cup) until it’s pale and thick. This takes like 3 minutes of actual whisking – your arm might get tired, but it’s worth it.
Toss in your vanilla, espresso powder (if you’re using it), and salt. Then slowly add your warm chocolate mixture. Don’t dump it all in at once or you’ll scramble your eggs. Nobody wants chocolate scrambled eggs.
Step 4: The Fluffy Whites Thing
In a super clean bowl (seriously, even a tiny bit of grease will ruin this), whip your egg whites until they’re foamy. Then gradually add the rest of your sugar and keep going until you get soft peaks.
Don’t overdo it! They should look glossy and smooth, not dry and chunky.
Step 5: The Gentle Fold
This is where people usually mess up. Take about 1/3 of your fluffy whites and fold them into the chocolate mixture to lighten it up. Then fold in the rest in two batches.
Be gentle! You’re not mixing cake batter, you’re tucking those air bubbles in like you’re putting a baby to sleep.
Step 6: Bake It
Pour everything into your pan and smooth the top gently. Bake for 25-30 minutes until the middle is set but still has a tiny jiggle to it.
It’s gonna puff up and then deflate as it cools. This is NORMAL. Don’t panic.
Step 7: The Waiting Game
Let it cool completely in the pan before you even think about removing the sides. Dust with cocoa powder right before serving to look like you know what you’re doing.
Tips To Get Best Flourless Chocolate Cake
Fun Ways to Jazz It Up
Once you’ve mastered the basic recipe, try these:
- Peanut butter swirl: Dollop some natural PB on top and swirl it around with a knife
- Orange zest: A couple teaspoons of fresh orange zest makes it fancy
- Coffee glaze: Because chocolate + coffee = heaven
- Berry situation: Fresh strawberries or raspberries cut through all that richness perfectly
Make-Ahead Game Strong
You can make the batter up to 2 days ahead and keep it in the fridge. Just let it come to room temp before baking and maybe add 5-10 extra minutes to the bake time.
The whole cake also freezes like a champ for up to 3 months if you wrap it properly.
Serving Ideas That’ll Impress
- Fresh berries (the tartness is chef’s kiss)
- Whipped cream (keeps it from being TOO intense)
- Vanilla ice cream (classic for a reason)
- Caramel sauce (because why not go completely over the top?)
When Things Go Wrong (Because They Sometimes Do)
Help! My Batter Looks Chunky!
This usually happens when you add cold stuff to hot chocolate or get water involved somehow. Make sure everything’s at room temperature and your chocolate has cooled down before mixing.
My Cake Fell Flat!
Some deflation is totally normal and actually what you want. But if it looks like a chocolate pancake, you probably over-whipped your egg whites or kept opening the oven door like it was Netflix.
How Do I Store This Thing?
Wrap it up and stick it in the fridge for up to 5 days. Here’s a secret: it actually gets better after a day because all the flavors get cozy with each other. Let it come back to room temp before serving though.
Time to Get Baking!
Honestly, this cake is everything you want in a dessert – rich enough to satisfy your deepest chocolate cravings, easy enough that you won’t stress about it, and impressive enough that people will think you’re some kind of baking genius.
The combo of good chocolate, the right technique, and just a little bit of patience creates something that’s consistently amazing. Whether you’re making it for a dinner party, trying to impress a date, or just because it’s Tuesday and you deserve cake, this recipe’s got your back.
So grab your ingredients, put on some good music, and let’s make some cake magic happen. And hey, when you make it (not if, WHEN), I’d love to see how it turned out! Tag me or drop a comment – seeing people succeed with this recipe honestly makes my day.
Want more gluten-free goodies? I’ve got tons more recipes where this came from – chocolate mousse that’ll make you weep happy tears, brownies that are basically fudge in disguise, you name it.
Remember, baking doesn’t have to be perfect to be amazing. It’s all about understanding your ingredients, not being afraid to mess up, and creating those sweet moments that make life a little more delicious. This flourless chocolate cake is gonna become your new go-to, trust me on this one.
Reviews
There are no reviews yet. Be the first one to write one.