Table of Contents
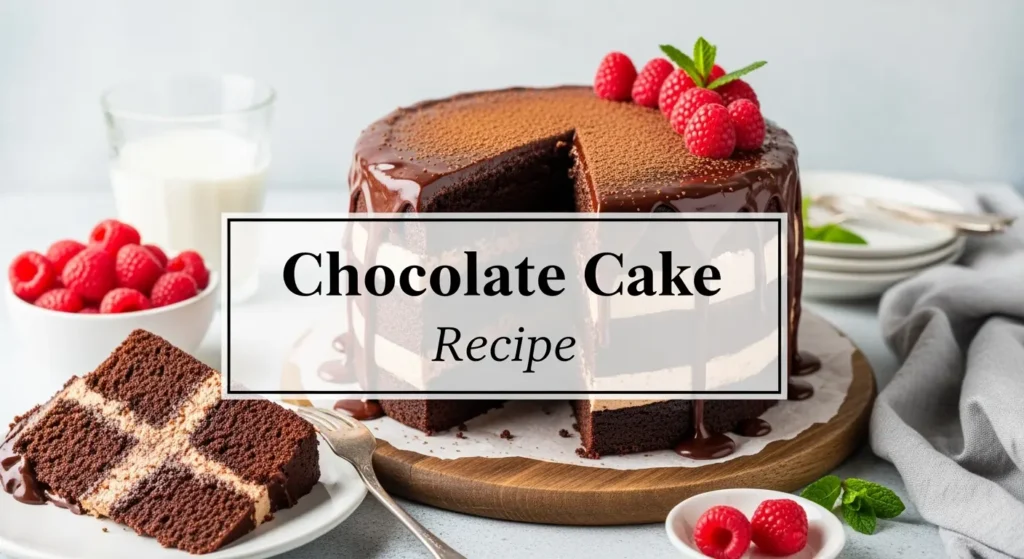
Okay, real talk – if you’ve been hunting for a chocolate chip cake recipe that’s crazy soft, buttery, and basically melts in your mouth, you just hit the jackpot. I’m not being dramatic here (well, maybe a little), but this recipe is what happens when you combine years of trial and error with way too much taste-testing.
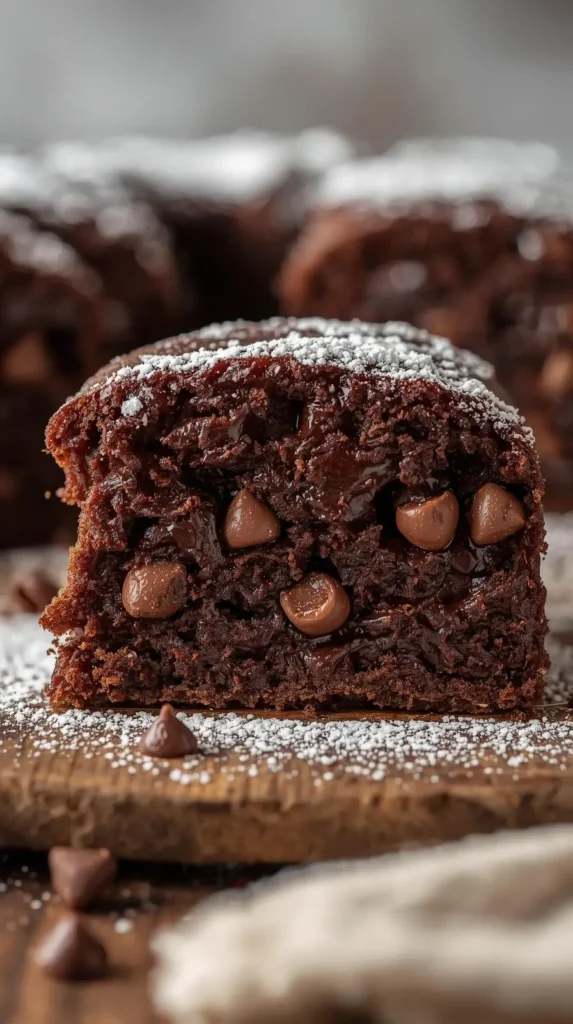
So what makes this THE chocolate chip cake recipe? It’s got cake flour for that super tender crumb, real butter (because we’re not messing around), and here’s the kicker – whipped cream folded right into the batter. I know, sounds fancy, but it’s actually dead simple and creates this ridiculously soft, cloud-like texture. You end up with a cake that’s rich but won’t weigh you down, sweet but not “omg my teeth hurt” sweet, and packed with chocolate chips in every single bite.
Honestly, I created this because I was so tired of chocolate chip cakes that were either dense as a brick or dry as the Sahara. By stealing some tricks from professional bakers (shhh, they won’t mind), I made something that tastes like it came from a fancy bakery, but you can totally make it in your pajamas on a Tuesday night.
Oh, and no buttermilk? Don’t even stress about it! I’ll show you exactly how to make your own with stuff you already have, or just swap it out for regular milk or sour cream. Check the FAQs below – I’ve got you covered. No emergency grocery runs required.
The Secret Tricks For Insanely Fluffy Chocolate Chip Cake Recipe
Look, making an amazing cake isn’t just about dumping ingredients in a bowl and hoping for the best. There’s actually some cool science stuff happening (don’t worry, I’ll keep it simple), and once you know these tricks, you’ll be dangerous in the kitchen.
Why Texture Is Everything
Here’s the thing – nobody wants a cake that sits in your stomach like a rock, right? The goal is to nail that sweet spot: rich and delicious but light and airy at the same time. This cake hits that perfect balance where it’s moist but not soggy, fluffy but not dry. Basically, it’s chef’s kiss.
The Flour Situation
Cake flour is your best friend here. It’s got less protein than regular flour, which means less gluten gets formed when you mix everything together. Translation? Softer, more tender cake that practically dissolves on your tongue.
Don’t have cake flour? No biggie! Here’s the hack:
DIY Cake Flour:
- Measure out 1 cup of all-purpose flour
- Take out 2 tablespoons
- Replace those 2 tablespoons with cornstarch
- Sift it together a few times so it’s all mixed up
This homemade version works like a charm because the cornstarch basically dilutes the protein, and boom – you’ve got cake flour.
The Whipped Cream Game-Changer
Alright, this is where things get interesting. Adding whipped cream to your batter is like a secret weapon – it adds fat and air at the same time, which makes the cake stupidly soft and silky. Those tiny air bubbles puff up in the oven and give you that fluffy texture everyone’s gonna ask about.
Here’s what you do:
- Grab ½ cup of cold heavy cream
- Whip it with a mixer until it forms stiff peaks (takes like 2-3 minutes)
- Gently fold it into your batter with a spatula
- Use big, swoopy motions from the bottom up – you wanna keep those air bubbles intact
Takes an extra couple minutes but trust me, it’s so worth it.
Room Temp Ingredients Are Non-Negotiable
Everything needs to be at room temperature – eggs, butter, milk, the works. When everything’s the same temp (around 65-70°F), it all mixes together smoothly and traps air like magic. Cold ingredients? They just don’t play nice together, and you end up with a dense mess.
Quick tricks to warm things up:
- Eggs: Stick ’em (still in the shell) in a bowl of warm water for 5-10 minutes
- Butter: Chop it into small pieces and wait 15-20 minutes, or zap it in the microwave for 5 seconds at a time
- Milk: Microwave for 10-15 seconds just to take the chill off
Or just be a normal person and take everything out like 30 minutes before you start baking.
Don’t Over-Mix (Seriously, Don’t)
This is probably the most important thing: once the flour goes in, mix as little as possible. Over-mixing makes gluten develop, and that gives you a tough, chewy cake instead of the tender, fluffy one you want.
Here’s the deal:
- Add your dry stuff in batches
- Mix on low or just use a spatula by hand
- Stop the second you don’t see flour streaks anymore – lumps are totally fine
- The batter should look a little rough, not smooth and perfect
Hot tip: It’s always better to under-mix than over-mix. The oven will sort out any little lumps.
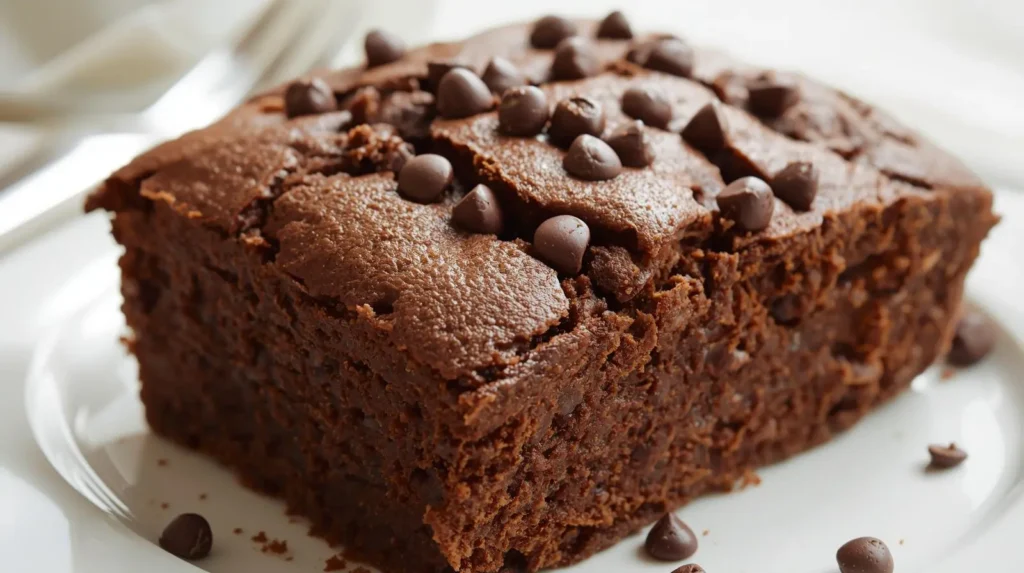
Mini Chips vs. Regular Chips
Mini chocolate chip cake recipe are where it’s at. They spread out way better in the batter, so you get chocolate in every single bite without weighing down your fluffy cake. Regular chips are kinda heavy and can sink to the bottom like little chocolate anchors.
But hey, if you’ve only got regular chips, just chop ’em up into smaller pieces before you add them. Problem solved!
Pro move: Toss your chips (whatever size) with a tablespoon or two of flour first. This helps them stay suspended in the batter instead of all sinking to the bottom.
How to Mix It Up – Pans, Variations, and All That Jazz
The best part about this recipe? It’s super flexible. You can bake it in pretty much any pan you’ve got, and it’ll still turn out amazing.
Pan Options and Baking Times
Bundt Pan (My Personal Fave): This is what I usually go with because it looks impressive without needing any frosting, bakes super evenly thanks to that hole in the middle, and you can just pop the whole thing on a plate and go. Plus, if you grease it properly, it slides right out looking gorgeous.
Baking time: 45-55 minutes at 350°F. Stick a toothpick in and it should come out with just a few moist crumbs.
Other Pan Ideas:
- Angel Food Cake Pan: Similar vibe to the Bundt but with a removable bottom. Bake for 45-50 minutes.
- Two 8-inch Round Pans: Perfect for making a layered cake with frosting in the middle. Only needs 25-30 minutes since the layers are thinner.
- 9×13-inch Pan: Classic sheet cake style – great for parties. Bake for 35-40 minutes.
- Loaf Pans or Muffins: Two loaf pans work great (40-45 minutes), or make 24 muffins (18-22 minutes). Muffins are clutch for gifts or grab-and-go snacks!
Important: Different pans = different times. Always start checking 5-10 minutes early. You’re looking for: edges pulling away from the pan, cake springs back when you poke it, and a toothpick comes out mostly clean (a few crumbs are good – wet batter is not).
That Amazing Peanut Butter Fudge Icing
The cake is delicious naked (the cake, people, the cake), but if you wanna take it over the top, this peanut butter fudge icing is ridiculously good. Three ingredients. That’s it.
What You Need:
- 1 cup chocolate chips
- ½ cup peanut butter
- A pinch of salt
What You Do:
- Melt the chocolate chip and peanut butter together (microwave in 30-second bursts or use a double boiler)
- Stir until it’s smooth
- Add that pinch of salt
- Pour it over your cooled cake
The Texture Thing:
- Warm: Pour it on right away while it’s still warm and drippy. Super glossy and pretty.
- Cool: Let it sit for 10-15 minutes to thicken up into more of a spreadable fudge frosting.
Not Into Peanut Butter?
No worries! Try these instead:
- Hot fudge sauce (warm it up and drizzle away)
- Chocolate ganache (equal parts cream and chocolate chips, heated and stirred)
- Cream cheese frosting (tangy and delicious)
- Just dust some powdered sugar on top (simple but classy)
- Caramel sauce (because why not?)
Your Burning Questions, Answered
Can I Skip the Buttermilk?
Absolutely! Just use regular milk (2% or whole milk works great) as a straight swap. The cake might be slightly less tangy, but it’ll still be delicious.
Wanna get closer to the real thing? Make fake buttermilk: Put 1 tablespoon of white vinegar or lemon juice in a measuring cup, fill it up to 1 cup with regular milk, stir, and let it sit for 5 minutes. It’ll get a little curdled (that’s what you want), and boom – you’ve got buttermilk.
You can also use sour cream (¾ cup sour cream + ¼ cup milk) or plain yogurt thinned with a splash of milk.
How Do I Keep the Chips From Sinking?
Coat them in flour first! Just toss your chocolate chips with 1-2 tablespoons of flour before folding them in. The flour helps them stick to the batter so they don’t all end up at the bottom.
Also helps: Use mini chips (they’re lighter), and don’t over-mix your batter or make it too runny.
How Long Does This Last?
Keep it in an airtight container at room temperature. It’s absolutely at its best the day you bake it – that’s when the texture is perfect. It’s still really good the next day, though it might get a tiny bit denser.
You can keep it in the fridge for up to 5 days if you need to, but let it come back to room temp before eating. And yes, you can freeze it! Wrap it really well in plastic wrap and foil, and it’ll last 3 months. Thaw it in the fridge overnight.
If you put that peanut butter icing on it, definitely keep it in the fridge, then let it sit out for 15-20 minutes before serving.
What About Using Oil Instead of Butter?
You can use vegetable oil (¾ cup oil for every 1 cup of butter), but heads up – it’s gonna change things.
What to expect:
- Denser, moister cake with a tighter texture
- No buttery flavor (which is kinda the whole point of this recipe)
- Might feel a bit greasier
- It’ll stay moist longer though (oil doesn’t solidify like butter)
If you’re going dairy-free, coconut oil is a better bet than vegetable oil flavor-wise. But honestly, for the best results, just use real butter.
High Altitude Help?
Baking at high altitude (over 3,000 feet) is tricky because the air pressure messes with how cakes rise. Here’s the basic formula:
- Add 1 tablespoon flour (more structure)
- Remove 1 tablespoon sugar (less tender = less collapsing)
- Add 1 tablespoon liquid (compensates for faster evaporation)
- Bump the oven temp up 15-25°F (helps it set faster)
- Check for doneness earlier (it’ll bake faster)
If you’re really high up (7,000+ feet), you might need to reduce your leavening by 25% and add even more liquid. Every altitude’s a little different, so keep notes on what works for you!
More Chocolate Cake Goodness
If this cake made you happy, you’ve gotta try these:
- Best German Chocolate Cake Frosting Recipe In 2025
- Baker’s Recipe for German Chocolate Cake
- Small Chocolate Cake Recipe (2 classic Recipes)
- Chocolate Pound Cake Recipe (With Easy 7 Steps)
- Best Chocolate Cake Recipe: With 3 Frosting Ideas
The Gear That Makes Life Easier
You don’t need fancy equipment, but these things definitely help:
- KitchenAid Stand Mixer – Creaming butter and whipping cream becomes effortless
- Nordic Ware Bundt Pan – Non-stick coating that actually works
- King Arthur Cake Flour – Consistent results every time
- Good Silicone Spatulas – For folding in that whipped cream without deflating it
- Instant-Read Thermometer – So you know your ingredients are actually room temp
- Offset Spatula – Makes spreading icing look professional
Bottom Line
This chocolate chip cake recipe is everything you want: super soft and fluffy, rich and buttery, and absolutely loaded with chocolate chips. It’s easy enough that beginners can nail it, but it uses those pro techniques that make people think you went to pastry school.
The combo of cake flour, whipped cream, and gentle mixing creates this texture that’s tender but not crumbly, moist but not soggy, and just… perfect. Whether you’re making it for a birthday, a potluck, or just because it’s Tuesday and you deserve cake, this recipe won’t let you down.
Made it? Drop a comment below and tell me how it turned out! Rate the recipe, share pics on Instagram (tag me!), or just let me know if you have questions. Your feedback totally makes my day and helps other people figure out if they should make it too.
Save this recipe for later – pin it, bookmark it, send it to your group chat, whatever works. And if you’ve got your own baking tips or tricks, spill ’em in the comments!
Now go make some cake! 🍰