Table of Contents
Table of Contents
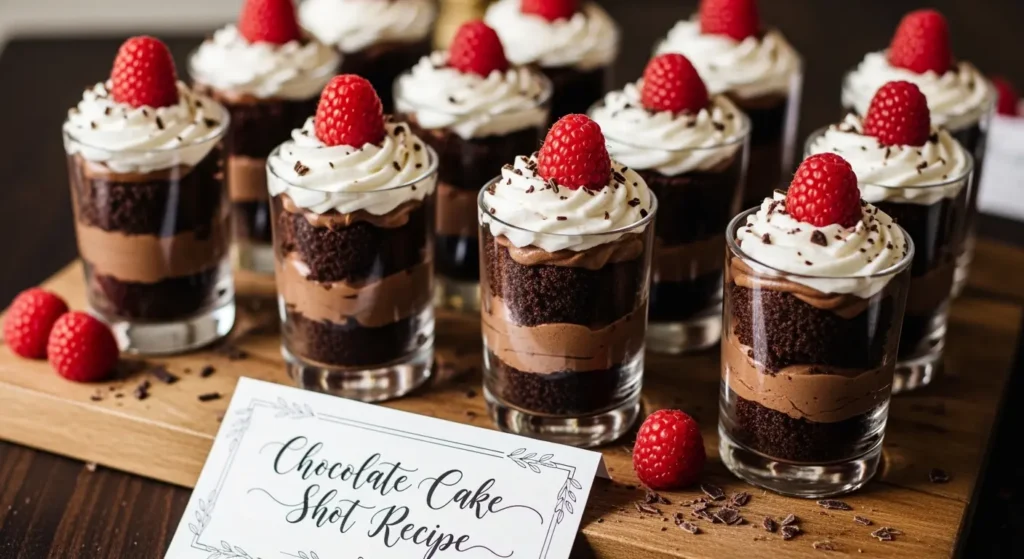
You know that feeling when you’re absolutely dying for chocolate cake, but the thought of eating (or making) an entire cake makes you feel kinda guilty? Yeah, me too! That’s exactly why I’m obsessed with these chocolate cake recipe shot – they’re like having your cake and eating it too, but without the commitment issues.
Seriously, these tiny little bites pack all the punch of a full-size chocolate cake into these adorable mini portions. Perfect for when you’re hosting friends, need something cute for a party, or honestly, just want to treat yourself without going completely overboard (we’ve all been there!).
I’m not even exaggerating when I say this mini chocolate cake recipe shot has literally thousands of amazing reviews. What makes these easy chocolate dessert shot so freaking good? They’re ridiculously simple (one bowl, people!), stay super moist for days, taste like heaven, and you can totally customize them however you want.
Trust me, once you try these layered chocolate cake shooters, you’ll never look at regular desserts the same way. Let’s dive in!
Why These Are Hands-Down the Best Chocolate Cake Recipe Shot
They Stay Crazy Moist (Like, Seriously)
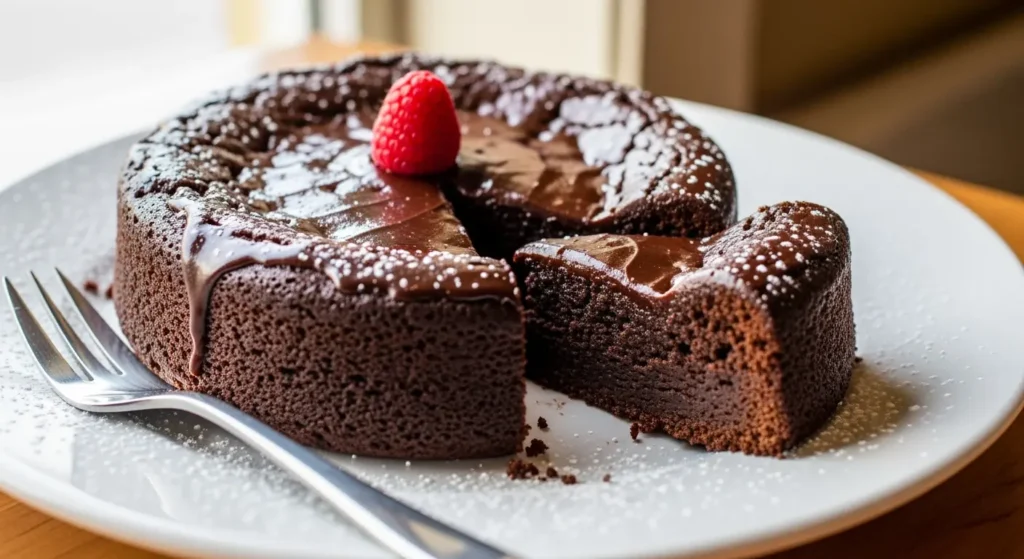
Okay, this is where these chocolate cake recipe shots totally blow my mind. They actually get BETTER after sitting for a day or two! I know, right? The flavors just meld together and they stay incredibly moist – even if you stick them in the fridge.
The secret? It’s all about using oil instead of butter and getting that liquid ratio just right. While other cakes turn into sad, dry hockey pucks, these babies stay tender and delicious. It’s like magic, but better because you can eat it.
The Chocolate Flavor is INSANE
Here’s where I get a little nerdy – the secret weapon in these mini chocolate cake shots is espresso powder. Now before you panic, it doesn’t make them taste like coffee! It’s more like chocolate’s best friend, making the cocoa flavor so much deeper and richer.
And if you spring for the good Dutch-process cocoa powder (totally worth it, trust me), you’ll get that dark, intense chocolate flavor that makes people go “OMG, what’s in these?!”
One Bowl = Your New Best Friend
Can we just appreciate how genius this is? No fancy mixers, no complicated techniques – just throw everything in one bowl and whisk it up. I’m talking like 15 minutes from start to finish before they go in the oven. Perfect for those “I need chocolate NOW” moments or when you’re too lazy to dirty a bunch of dishes (guilty as charged).
The Texture is Bakery-Level Good
I swear these little layered chocolate cake shooters have that perfect, soft crumb that you usually only get from expensive bakery cakes. Each bite is tender and rich, and honestly? People are gonna think you’re some kind of baking wizard when you serve these.
That Buttercream Though…
The frosting on these is seriously next-level. It’s rich and chocolatey but not so sweet that it makes your teeth hurt. It’s like the perfect little hat for each mini cake – and let’s be real, everything’s better with frosting on top!
The Nerdy Stuff (But Like, Easy to Understand)
Okay, I know some of you are wondering WHY these work so well, so let me break it down without getting too science-y on you.
Sugar Does More Than Just Taste Good
So here’s a cool thing – using more sugar than flour isn’t just about sweetness. Sugar actually messes with gluten development (in a good way!), which means your cakes stay super tender instead of tough and chewy. It’s like having a bouncer that keeps the gluten from getting too rowdy.
Cocoa Powder is Sneaky Smart
Cocoa powder is basically flour’s chill friend. While flour tries to make things tough with gluten, cocoa’s like “nah, let’s keep this soft and tender.” Plus, you know, it makes everything taste like chocolate, which is never a bad thing.
Why We Add Hot Coffee (Don’t Worry!)
Adding hot liquid does a bunch of cool stuff – it dissolves the sugar better and wakes up the baking powder right away. You can totally use hot water if you’re not into coffee, but seriously, the coffee thing works so well for making the chocolate flavor pop.
And about that Dutch-process cocoa I mentioned? It’s just darker and richer than regular cocoa. Some people worry about mixing it with baking soda, but this recipe has enough acidic stuff (hello, sour cream!) to make everything work perfectly.
Let’s Make These Bad Boys!
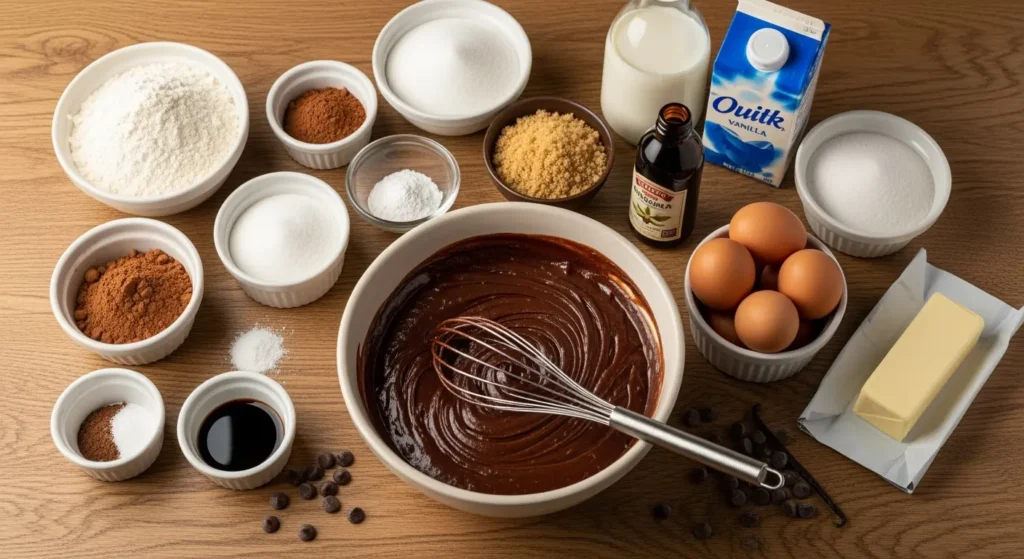
What You’ll Need for the Cake Shots:
For the Mini Cakes:
- All-purpose flour: 125g (⅞ cup) – Don’t pack it down!
- Granulated sugar: 100g (½ cup)
- Light brown sugar: 55g (¼ cup) – This adds extra moisture
- Unsweetened cocoa powder: 28g (⅓ cup) – Go for Dutch-process if you can
- Baking powder: ½ tsp
- Baking soda: ½ tsp – Make sure it’s fresh!
- Kosher salt: ⅜ tsp
- Espresso powder: ½ tsp – Trust me on this one
- 1 large egg (room temp is best)
- Vegetable oil: 60ml (¼ cup) – Canola works great
- Full-fat sour cream: 90ml (6 tbsp) – Don’t skimp here!
- Vanilla extract: ½ tsp
- Hot coffee: 120ml (½ cup) – Or hot water if you prefer
For the Amazing Buttercream:
- Unsweetened chocolate: 28g (1 ounce), melted and cooled
- Powdered sugar: 90g (¾ cup)
- Butter: 57g (¼ cup), nice and soft
- Tiny pinch of salt
- Cream or milk: ½ tbsp
- Vanilla: ¼ tsp
Here’s How We Do This:
- Get Everything Ready: Heat your oven to 350°F. Grab some shot glasses, mini ramekins, or just use a mini muffin tin with liners – whatever you’ve got!
- Make Your Coffee: Brew some coffee or mix up instant – just make sure it’s hot when you need it.
- Mix the Dry Stuff: Sift everything dry into a big bowl (flour, cocoa, baking powder, baking soda, both sugars, salt, espresso powder). Whisk it all up really well – no lumps allowed!
- Wet Ingredients Party: In another bowl, whisk together the egg, oil, sour cream, and vanilla until it’s smooth.
- Bring It Together: Pour the wet stuff into the dry stuff and mix until it just comes together. It’ll be thick at first – that’s totally normal!
- Add the Magic: Slowly pour in that hot coffee while mixing. The batter’s gonna get really thin, but don’t panic – this is exactly what we want!
- Bake ‘Em Up: Fill your containers about ⅔ full and pop them in the oven for 12-15 minutes. They’re done when a toothpick comes out clean.
- Patience, Grasshopper: Let them cool for 10 minutes before taking them out, then cool completely before frosting.
Making That Incredible Frosting:
- Melt & Chill: Melt your chocolate and let it cool completely (seriously, wait for it – hot chocolate makes grainy frosting).
- Whip It Good: Beat the butter, powdered sugar, and salt until it’s light and fluffy.
- Add the Good Stuff: Mix in the cooled chocolate, milk, and vanilla. Beat for a minute or two until it’s smooth and gorgeous.
- Top It Off: Once your cakes are totally cool, pipe or dollop that frosting on top like the queen you are.
Pro Tips (Because I’ve Made All the Mistakes)
Don’t Let Them Go Dry:
- Seriously measure your flour properly – too much = sad, dense cakes
- Don’t mess with the sugar amounts; it’s there for moisture, not just sweetness
- Watch the timer! These little guys bake fast, and nobody likes overcooked cake
Make Sure They Rise:
- Sift everything to avoid clumpy disasters
- Don’t overmix once you add the coffee
- Check that your baking soda and powder aren’t ancient
Temperature Stuff:
- Room temp egg and sour cream mix way better
- That coffee needs to be actually hot to work its magic
- If your frosting gets grainy, your chocolate was probably still too warm
Ways to Make Them Your Own
Got Dietary Restrictions? No Problem!
Gluten-Free: Just swap regular flour for a good gluten-free blend – honestly, you probably won’t even notice the difference.
Dairy-Free: Use thick coconut cream instead of sour cream, and plant milk in the frosting.
Less Sugar: You can replace up to half the sugar with a baking-friendly substitute, though they might be slightly different texture-wise.
Get Creative With Flavors:
- Throw in some orange zest for chocolate-orange vibes
- Mini chocolate chips never hurt anybody
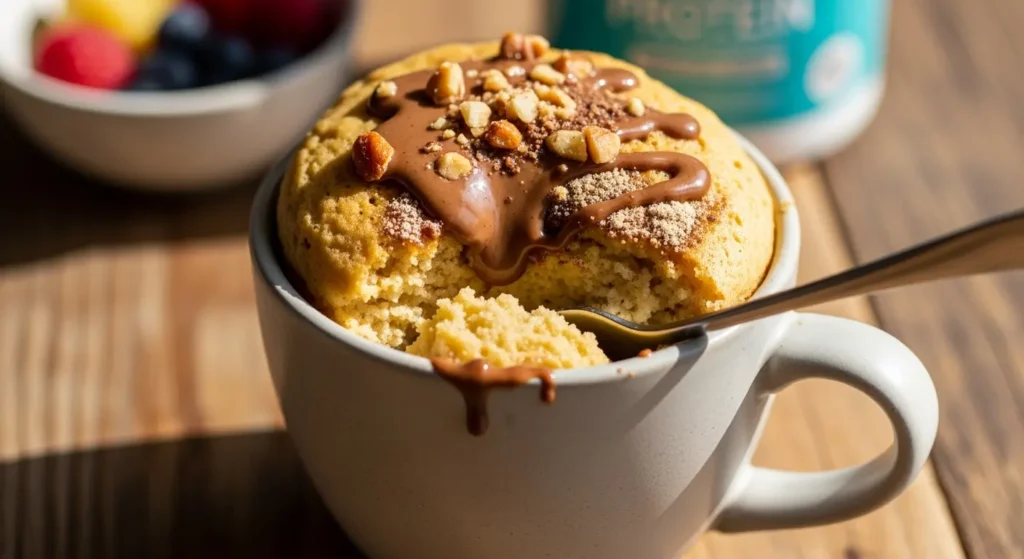
- Swirl in peanut butter for the ultimate combo
- Add a tiny bit of cinnamon for that Mexican hot chocolate thing
Make Them Look Amazing:
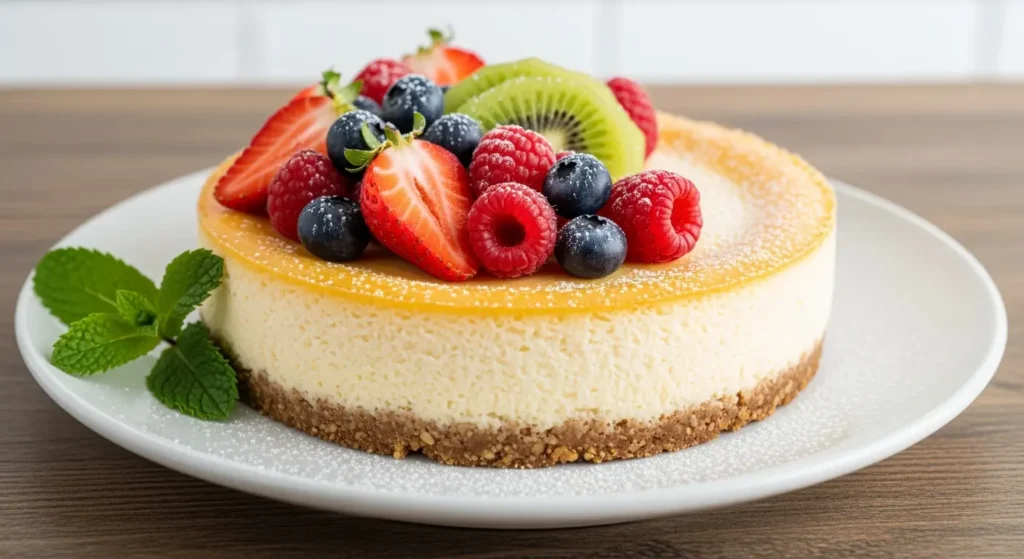
- Layer with whipped cream and berries for fancy trifle shots
- Dust with cocoa powder for that elegant look
- Crushed Oreos on top? Yes, please!
- Try different colored frostings for Instagram-worthy shots
Storage (Because You Might Have Leftovers… Maybe)
These layered chocolate cake shooters are actually perfect for making ahead, which is clutch when you’re hosting.
Keep ‘Em Fresh:
- Unfrosted ones last 3 days covered at room temp
- Frosted ones can hang in the fridge for a week (just let them come to room temp before serving)
Freezer Life:
- Wrap unfrosted ones individually and freeze for up to 3 months
- Thaw overnight in the fridge before frosting
Make-Ahead Hacks:
- Make the frosting up to 3 days early (just re-whip it)
- Bake them the morning of your event for maximum freshness
- You can even portion the batter and keep it in the fridge for a day before baking
When Things Go Wrong (It Happens!)
Dense Cakes? Probably too much flour or overmixing. Measure carefully and mix gently!
No Coffee? Hot water works just fine – your chocolate flavor will still be amazing.
Weird Frosting Consistency? Add more powdered sugar to thicken or a bit more cream to thin it out.
How Do I Know They’re Done? Toothpick should come out clean or with just a few moist crumbs. The tops should bounce back when you gently poke them.
Time to Get Your Bake On!
Honestly, these chocolate cake recipe shots are like the perfect little relationship – low maintenance, always satisfying, and they make everyone happy. Whether you’re throwing a fancy dinner party, having friends over for a casual night, or just treating yourself (no judgment here!), this mini chocolate cake shots recipe is gonna be your new go-to.
The best part? Once you nail the basic recipe, you can totally customize them however you want. They’re super forgiving, which means even if you mess something up a little, they’ll probably still turn out delicious.
So what are you waiting for? Get that oven preheated and let’s make some magic happen! And seriously, when you make these easy chocolate dessert shots and people start asking for the recipe, just send them my way – I’m always happy to spread the chocolate love!
Trust me, your taste buds (and your friends) will thank you. These little layered chocolate cake shooters are about to become your new obsession, one perfect bite at a time!
Reviews
There are no reviews yet. Be the first one to write one.