
Table Of Contents
Table of Contents
Are you searching for a show-stopping dessert that looks impressive but requires zero baking skills? Look no further than this incredible oreo dirt cake recipe! This delightfully deceptive treat combines the beloved flavors of chocolate and cream in a presentation so realistic, you’ll have guests doing double-takes. Whether you’re planning a garden party, kids’ birthday celebration, or simply want to surprise your family with something fun, this no bake oreo dirt cake delivers maximum wow factor with minimal effort.
What makes this oreo dirt dessert truly special is its perfect balance of textures and flavors. Layers of rich chocolate pudding, fluffy whipped cream, and crushed Oreo cookies create a dessert that’s both nostalgic and sophisticated. The best part? You can prepare this oreo pudding cake recipe entirely ahead of time, making it the ultimate stress-free entertaining solution.
The Secret Behind the Perfect Oreo Dirt Cake: Understanding Your Ingredients
Why This No-Bake Approach Works So Well
The beauty of this oreo dirt cake lies in its simplicity and the science behind its components. Unlike traditional baked cakes that require precise temperatures and timing, this dessert relies on the natural setting properties of pudding and the stabilizing effects of whipped cream. Each layer serves a specific purpose in creating the perfect texture and flavor profile.
Essential Ingredients That Make the Magic Happen
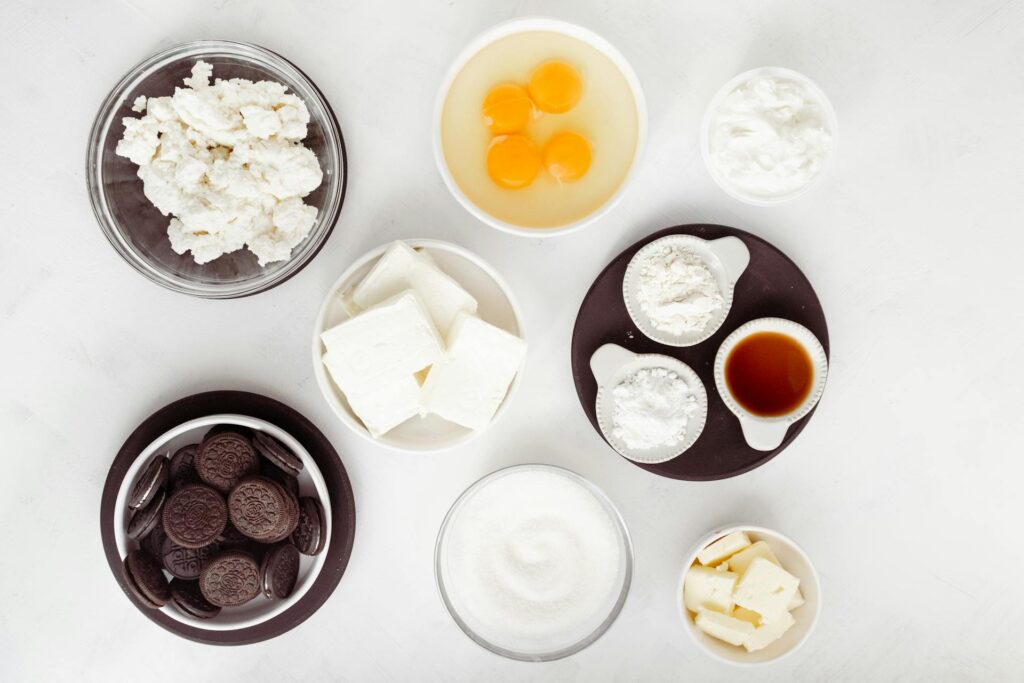
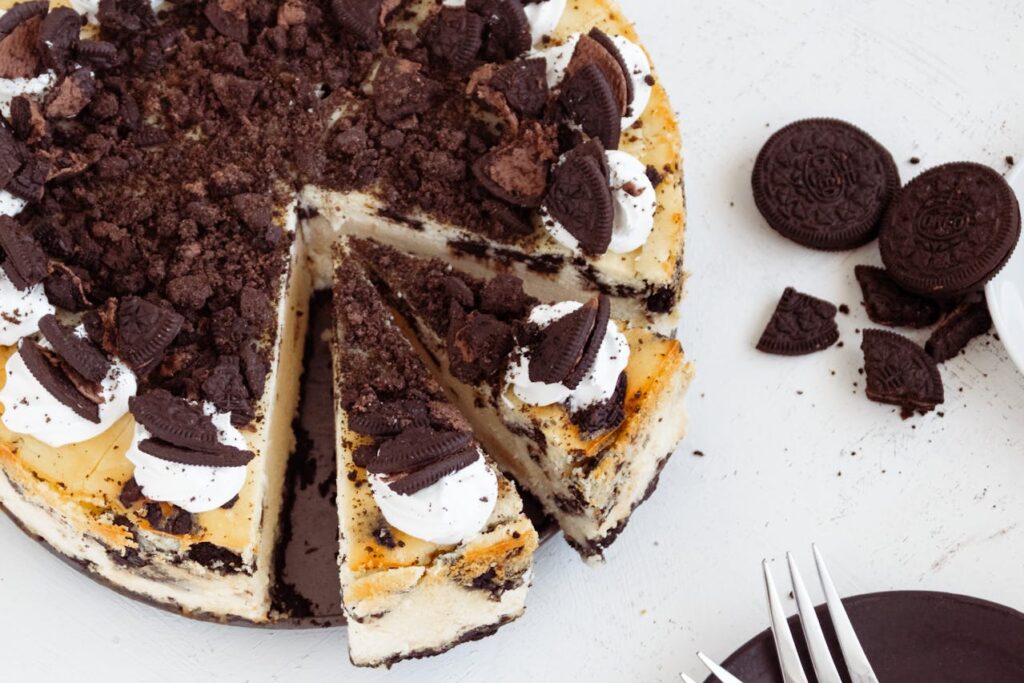
Oreo Cookies: The Star of the Show The foundation of any great oreo dirt dessert starts with high-quality Oreo cookies. For the most authentic “dirt” appearance, use original chocolate Oreos rather than golden varieties. The key is achieving the right consistency when crushing them – you’ll want a mix of fine crumbs and slightly larger pieces to mimic real soil texture. Pro tip: Reserve some whole cookies for decoration on top.
Instant Pudding Mix: Your Creamy Base Chocolate instant pudding forms the rich, decadent base of your oreo dirt cake recipe. The instant variety works best because it sets quickly and maintains its structure when layered. Don’t substitute with cook-and-serve pudding, as it won’t achieve the proper consistency for this dessert. Prepare it according to package directions but consider using whole milk for extra richness.
Whipped Topping: The Light and Fluffy Layer Cool Whip or similar whipped topping provides the perfect contrast to the dense pudding layer. Its light, airy texture prevents the dessert from becoming too heavy while adding visual appeal when you dig in. For homemade enthusiasts, you can substitute with freshly whipped heavy cream stabilized with a touch of powdered sugar.
Cream Cheese: The Secret Ingredient Many variations of this no bake oreo dirt cake include softened cream cheese mixed with the whipped topping. This addition creates a tangy richness that balances the sweetness and helps the layers hold their shape when served. Use full-fat cream cheese for the best texture and flavor.
Step-by-Step Instructions for Oreo Dirt Cake Perfection
Step 1: Prepare Your Container Choose a clear glass dish, trifle bowl, or even clean flower pots for individual servings. The transparency allows guests to see the beautiful layers, enhancing the visual impact of your oreo dirt dessert.
Step 2: Crush the Oreos Place Oreo cookies in a food processor and pulse until you achieve a mixture of fine crumbs and small chunks. You’ll need about 1 package (36 cookies) for a standard 9×13 dish. Don’t over-process – the varied texture is what creates the realistic dirt appearance.
Step 3: Create the Pudding Layer Prepare chocolate instant pudding according to package directions. For extra richness, consider using chocolate milk instead of regular milk. Allow it to set for the recommended time to ensure proper thickness.
Step 4: Mix the Cream Layer Combine softened cream cheese with whipped topping until smooth and fluffy. This mixture should be light but stable enough to hold its shape when layered.
Step 5: Assembly Time Start with a layer of Oreo crumbs, followed by pudding, then the cream mixture. Repeat layers as desired, ending with Oreo crumbs on top to create the “dirt” surface.
Step 6: Chill and Set Refrigerate your oreo pudding cake recipe for at least 2 hours, though overnight is even better. This allows flavors to meld and ensures clean cuts when serving.
Creative Variations and Pro Tips for Your Oreo Dirt Cake
Theme-Based Adaptations
Garden Party Version Add gummy worms throughout the layers and place artificial flowers or vegetables on top for a realistic garden effect. This presentation works wonderfully for spring gatherings or children’s parties.
Seasonal Modifications Transform your oreo dirt cake for different occasions by incorporating seasonal elements. Add orange food coloring to the pudding layer for Halloween, or mint extract for a refreshing summer twist.
Individual Servings Create personal portions in clear plastic cups or small mason jars. This approach offers better portion control and eliminates the need for cutting and serving, perfect for outdoor events or buffet-style gatherings.
Professional Presentation Secrets
Layering Technique Use a large spoon to carefully spread each layer, avoiding disturbing the previous layer. For the cleanest lines, chill between layers if time permits.
Texture Contrast Vary your Oreo crushing technique – use some very fine crumbs for smooth layers and reserve chunkier pieces for the top “dirt” layer to create visual interest.
Make-Ahead Strategy This no bake oreo dirt cake actually improves with time. Prepare it 24 hours in advance for the best flavor development and easiest serving.
Troubleshooting Common Oreo Dirt Cake Issues
Preventing Soggy Layers
Moisture Management The biggest challenge with any oreo dirt dessert is preventing the cookie layers from becoming soggy. Ensure your pudding is properly set before assembly, and avoid over-mixing the cream layer, which can introduce excess moisture.
Timing Considerations While this dessert needs time to set, don’t assemble it more than 48 hours in advance. The cookies will eventually soften beyond the desired texture, losing their crucial crunch factor.
Achieving the Right Consistency
Pudding Thickness If your pudding seems too thin, whisk it vigorously and chill for an additional 30 minutes before assembly. Conversely, if it’s too thick, gradually whisk in small amounts of cold milk until you reach the desired consistency.
Cream Layer Stability When combining cream cheese with whipped topping, ensure the cream cheese is truly softened to room temperature. Cold cream cheese will create lumps that detract from the smooth texture you’re aiming for.
Storage and Serving Solutions
Refrigeration Guidelines Your completed oreo pudding cake recipe will stay fresh in the refrigerator for up to 4 days when properly covered. Use plastic wrap directly touching the surface to prevent a skin from forming on the top layer.
Serving Temperature While this dessert is served chilled, remove it from the refrigerator about 10 minutes before serving for easier scooping and better flavor release.
Portion Planning A standard 9×13 dish serves 12-15 people generously. For smaller gatherings, easily halve the recipe using an 8×8 dish, or create individual portions for precise serving control.
Why This Oreo Dirt Cake Recipe Will Become Your Go-To Dessert
The versatility and reliability of this oreo dirt cake recipe make it an invaluable addition to your dessert repertoire. Unlike temperamental baked goods that can fail due to altitude, humidity, or oven inconsistencies, this no-bake option delivers consistent results every time. The prepare-ahead nature means less stress during entertaining, while the playful presentation guarantees smiles from guests of all ages.
The combination of familiar flavors presented in an unexpected way creates a memorable experience that guests will talk about long after the last bite. Whether you’re a novice cook looking for an impressive yet foolproof dessert or an experienced baker seeking something fun and different, this oreo dirt dessert delivers on all fronts.
Conclusion: Your New Favorite Crowd-Pleaser Awaits
Transform your next gathering with this irresistible no bake oreo dirt cake that proves the best desserts don’t always require an oven. The combination of rich chocolate flavors, varied textures, and whimsical presentation creates an unforgettable treat that’s as fun to make as it is to eat.
Ready to dig in? Gather your ingredients, embrace the playful spirit of this unique dessert, and prepare to watch your guests’ faces light up when you reveal this delightful deception. Your reputation as a creative dessert master is just one oreo dirt cake away!
Don’t forget to share your creations and any creative variations you discover along the way. Happy dessert making!
Reviews
There are no reviews yet. Be the first one to write one.