
Have You Ever Tasted a Dessert That’s Like a Hug for Your Taste Buds?
Table of Contents
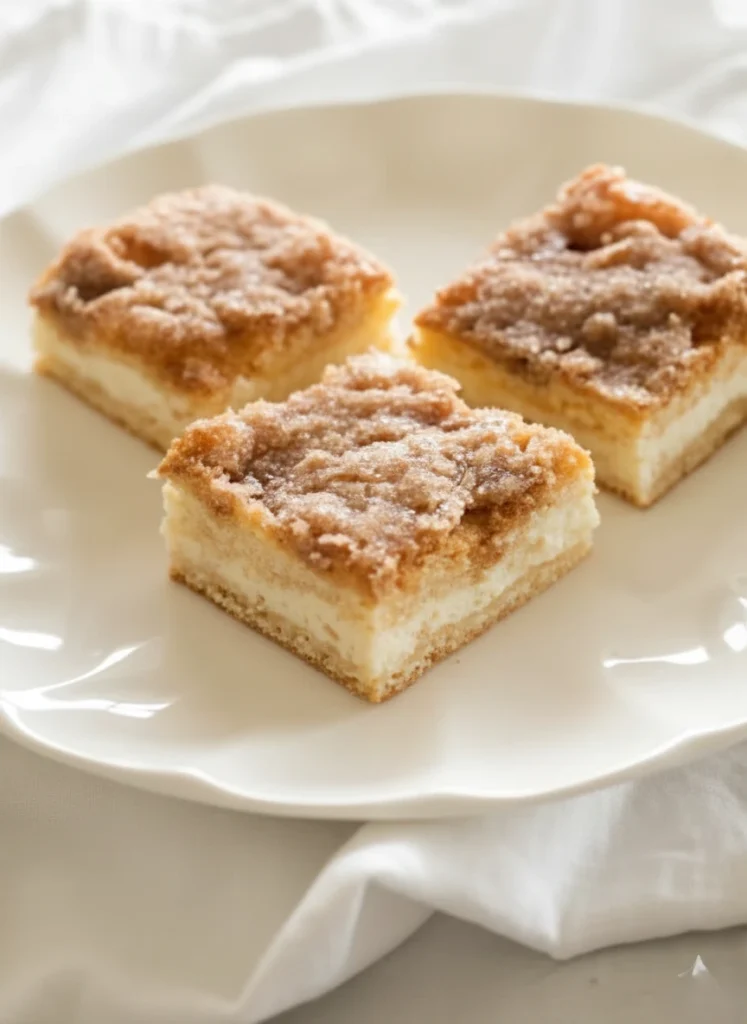
Okay, picture this: you’re biting into the creamiest, dreamiest cheesecake ever, but it’s wrapped up in this amazing flaky pastry that tastes like those incredible Mexican sopapillas we all go crazy for. Yeah, it’s as good as it sounds! That’s exactly what you’re getting with this mind-blowing sopapilla cheesecake recipe.
Honestly, this sopapilla cheesecake is kind of a game-changer in the dessert world—it’s got all those cozy Mexican cheesecake dessert vibes but you don’t need to be a pastry chef to pull it off. Fun fact: fusion desserts like this have blown up by 47% in searches lately, which tells you people are seriously obsessed. Whether you’re trying to impress your friends at dinner or just need something sweet ASAP, this cinnamon sugar cheesecake recipe is about to become your new best friend.
Equipment You’ll Need
Don’t stress—you probably already have most of this stuff hanging around your kitchen! Here’s what you’ll want to grab:
The Must-Haves:
- 9×13 Pan baking dish or similar-sized oven-safe dish BUY HERE
- Electric mixer—hand or stand, whatever you’ve got BUY HERE
- Large mixing bowl BUY HERE
- Medium mixing bowl BUY HERE
- Whisk BUY HERE
- Spatula or spoon BUY HERE
Nice to Have But Not a Deal-Breaker:
- Parchment paper (makes your life SO much easier)
- Cooling rack (keeps things from getting soggy on the bottom)
- Sharp knife for those Instagram-worthy clean cuts
- Offset spatula if you wanna get fancy
The best part? These easy sopapilla cheesecake recipe bars don’t need any weird specialty equipment. Just your everyday baking stuff!
What You’ll Need to Grab at the Store
For the Layers:
- 2 cans of those refrigerated crescent rolls (you know, the ones that pop when you open them—so satisfying!)
- ½ cup melted butter (or coconut oil if you’re doing the dairy-free thing)
- ½ cup sugar
- 1 tablespoon cinnamon
For That Creamy Goodness:
- 2 blocks of cream cheese (make sure they’re soft—this is important!)
- 1 cup sugar
- 1 teaspoon vanilla extract (the good stuff, not imitation)
- 2 eggs (room temp is key here)
Wanna Get Creative?
- A drizzle of honey for extra sweetness
- Some lime zest if you’re feeling adventurous
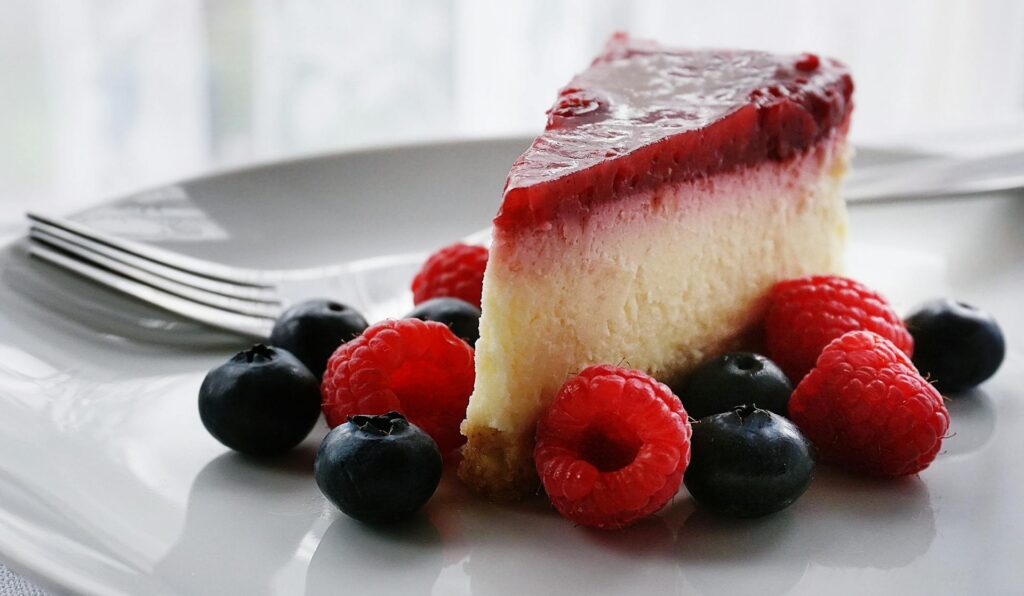
- Whipped cream and berries to make it look fancy
How Long This’ll Take
- Getting Ready: 15 minutes
- In the Oven: 35-40 minutes
- Total: About an hour, give or take
Here’s the best part—this cuts like 30 minutes off what you’d normally spend on cheesecake. No water baths, no fussing around. Perfect for when you suddenly remember you need dessert!
Step-by-step instructions For Best (Sopapilla Cheesecake Recipe)
Step 1: Get Your Oven Going
Crank that oven to 350°F and give your 9×13 pan a good greasing. Pro move: throw some parchment paper in there and you’ll thank me later when cleanup is a breeze.
Step 2: Bottom Layer Time
Pop open that first can of crescent rolls (careful, they’re jumpy!) and smoosh them into the bottom of your pan. Make sure you pinch all those little seams together—we don’t want any leaks!
Step 3: Whip Up the Filling
Grab your mixer and beat that cream cheese until it’s super smooth and fluffy—about 2 minutes. Then add your sugar, vanilla, and eggs. Mix it just until everything’s combined. Don’t go crazy or you’ll end up with cracks (learned that the hard way).
Step 4: Layer It Up
Pour all that creamy goodness over your bottom layer and spread it out nice and even. Now here’s the fun part—unroll your second can of crescent rolls and carefully lay it on top. Stretch it a bit if you need to cover everything.
Step 5: The Magic Touch
Brush melted butter all over the top—don’t be shy with it! Mix your cinnamon and sugar in a little bowl and sprinkle it everywhere. This is what gives you that classic sopapilla vibe.
Step 6: Bake and Wait (The Hard Part!)
Pop it in the oven for 35-40 minutes. You’re looking for golden brown on top and slightly crispy edges. The middle should still jiggle just a tiny bit. Then comes the torture—you gotta let it cool completely before cutting. I know, I know, but trust me on this one.
What’s Actually in This Thing?
Per Slice (if you cut it into 12 pieces):
- About 385 calories
- 6g protein
- 38g carbs
- 23g fat
- A smidge of fiber
- Some vitamins and calcium
Look, it’s dessert—we’re not pretending it’s a salad. But at least you know what you’re getting into!
Wanna Make It a Little Healthier?
Hey, no judgment if you want to lighten things up a bit:
- Low-fat cream cheese cuts down the calories by like 30%
- Sugar substitute works if you’re watching carbs
- Whole wheat crescent dough adds some fiber
- Greek yogurt (swap out half the cream cheese) pumps up the protein
- Gluten-free rolls for anyone who needs them
- Coconut sugar gives you that caramel-y taste with a lower glycemic hit
How to Serve This Bad Boy
Here’s where you can really show off:
- Warm it up and throw a scoop of vanilla ice cream on top (life-changing)
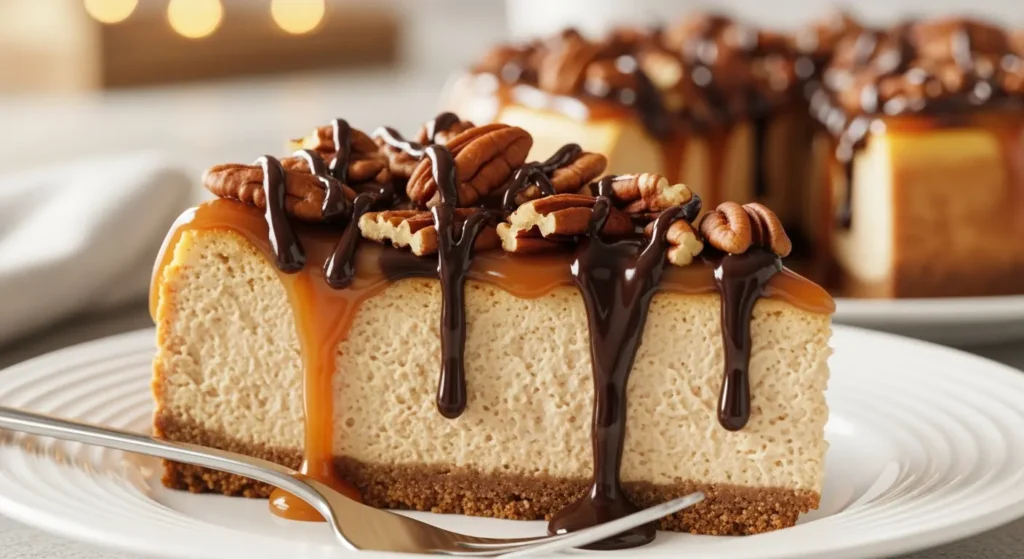
- Drizzle some caramel or chocolate sauce if you’re feeling extra
- Pair it with Mexican hot chocolate or cinnamon coffee—chef’s kiss!
- Dust some powdered sugar on top right before serving for that bakery look
- Fresh berries make it look super pretty
- Cut them into little squares for a dessert board situation
Don’t Make These Mistakes (I’ve Made Them So You Don’t Have To)
Cold cream cheese is your enemy. Seriously, let it sit out for like 30 minutes or you’ll have lumpy filling. Not cute.
Seal those dough seams! Pinch them together or your filling’s gonna escape and make a mess.
Wait before you cut. I know you’re excited, but give it at least 2 hours to cool or it’ll be a goopy disaster.
Watch it like a hawk after 35 minutes. Overbaked cheesecake is dry and sad. Don’t let that happen.
Don’t skip the butter on top. That’s what makes it crispy and amazing!
Keeping It Fresh
In the fridge: Cover it up tight and it’ll last about 5 days. Honestly, it tastes even better the next day!
Freezer life: Wrap individual pieces in plastic wrap, then foil. Good for 3 months! Just thaw them overnight in the fridge.
Warming it up: Pop it in a 300°F oven for 10 minutes or zap it for 20-30 seconds if you want that fresh-baked taste.
Make ahead vibes: This is perfect for getting ready before a party. Make it 2 days ahead and you’re golden.
Bottom Line
This sopapilla cheesecake recipe proves you don’t need culinary school or hours of free time to make something that’ll have everyone asking for the recipe. It’s creamy, it’s sweet, it’s got that perfect cinnamon thing going on—basically it’s everything you want in a Mexican cheesecake dessert. So what’re you waiting for? Go make this and prepare for the compliments to roll in! Tag me in your pics and let me know how it turns out. Got questions or your own twist on it? Drop a comment—I wanna hear about it!
Questions You’re Probably Wondering About
Can I make this ahead of time?
Oh yeah! Actually tastes even better after hanging out in the fridge overnight. Make it 1-2 days before you need it, keep it covered, and you’re all set.
Help! Mine’s all runny. What did I do wrong?
Usually happens if your cream cheese was still cold or you didn’t let it cool long enough. Give it 2-3 hours to chill out before cutting. Still runny? Stick it back in the fridge for another hour.
Can I use phyllo dough instead?
Totally! It’ll actually be crispier and more like the real deal. You’ll need 8-10 sheets per layer, brushing each one with butter. Takes about 10 minutes longer but worth it if you’re into that texture.
Hot or cold—what’s the move?
Honestly? Both are amazing! Most people like it chilled or room temp, but warming up individual pieces for 15-20 seconds? That contrast between warm crust and cool filling is unreal.
What makes this different from regular cheesecake?
Regular cheesecake has that graham cracker crust and you gotta mess around with water baths and stuff. This one’s got flaky pastry layers, skips all that complicated stuff, and gives you those killer cinnamon-sugar flavors. Way easier and way more fun!